 King County
 New-Construction Windows for Capitol Hill Projects
When we say "new-construction windows," we mean something specific: windows installed into open stud framing before siding or exterior finish goes on, using a nailing flange set directly to the sheathing and wrapped into the building's water-resistive barrier. That's different from a replacement window, which gets inserted into an existing frame after the original trim and cladding are already in place. In Capitol Hill, we see both — full new builds and additions, and older homes getting a rear addition or dormer that's framed out from scratch. Either way, if the opening is down to the studs, it's a new-construction install, and it should be treated as one from the first day of framing, not patched together after the fact.
Getting this stage right matters more here than in a lot of places. Capitol Hill sits in a part of King County that takes real weather over the course of a year — wind-driven rain off the Sound, long stretches of damp shoulder seasons, and enough shade and moisture on north- and west-facing walls to grow moss on anything that stays wet too long. A window opening that isn't flashed correctly on day one doesn't usually fail in year one. It fails in year five or six, quietly, behind the siding, and by the time anyone notices there's already rot in the sheathing or framing around it.
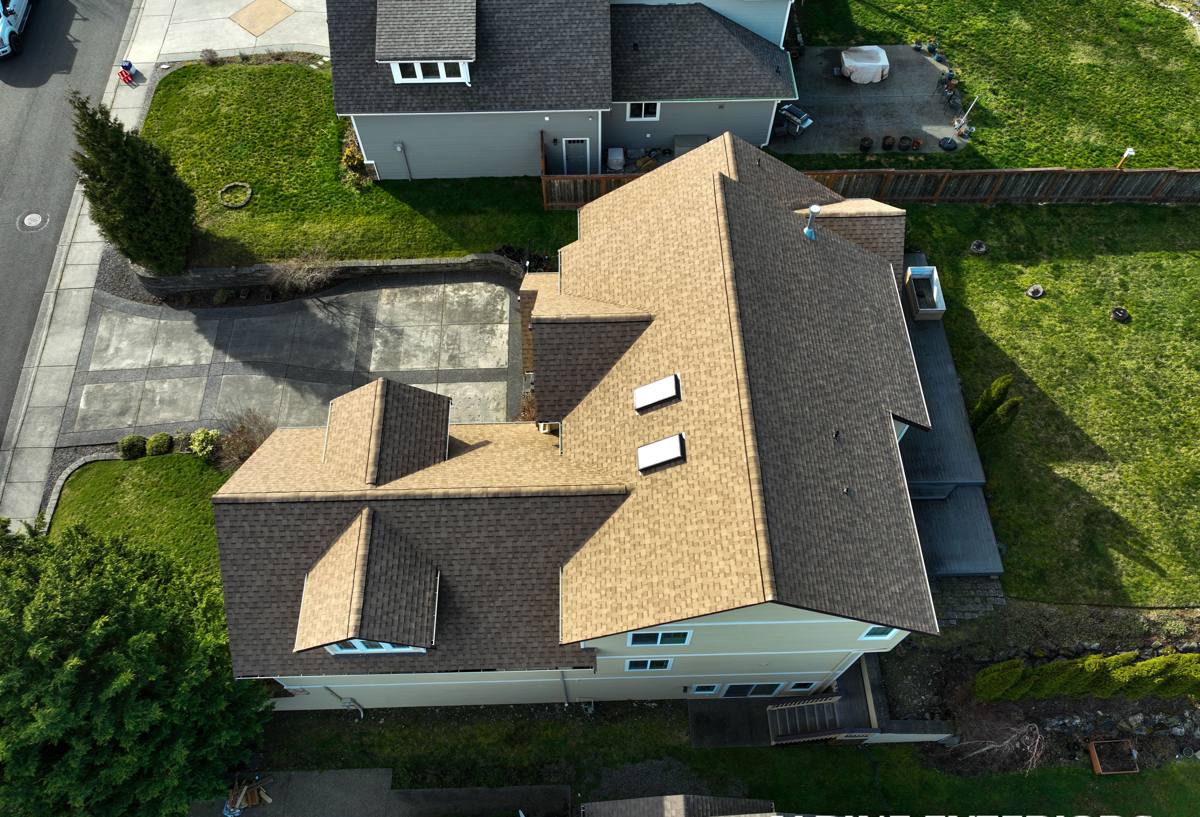
What Capitol Hill's Housing Mix Means for This Work
Capitol Hill has a dense mix of older single-family homes, townhome infill, and multi-unit new construction, often on tight urban lots with limited setbacks and shared walls or fences close to the building. That density changes a few practical things about a window install: staging materials and equipment is tighter, scaffolding or lift access on multi-story additions needs more planning, and window openings on close-set lots often see less direct sun and airflow, which means slower drying if water does get behind the cladding. On a lot with plenty of open exposure, a minor flashing flaw might dry out before it causes damage. On a tight urban lot in Capitol Hill, that same flaw stays wet longer. We plan the sequencing and drying time on-site with that in mind rather than working off a generic install checklist.
The Part That Actually Prevents Failures: Flashing and Water Management
Most window problems people blame on "the window" are actually installation problems — specifically, the flashing sequence around the opening. A correct new-construction install follows a shingle-lap order so water always drains outward and down, never into the wall:
- Sill pan flashing installed first, sloped slightly to the exterior, with end dams to stop lateral water migration
- Window set into the opening, shimmed level and plumb, fastened through the nailing flange per the manufacturer's schedule
- Jamb flashing lapped over the sill pan legs
- Head flashing installed last, lapped over the jamb flashing and integrated with the water-resistive barrier above the opening
- A drip cap or head flashing detail that sheds water clear of the opening rather than letting it run down the face of the window trim
Every layer has to lap over the one below it, not just butt against it. This is the single most common place we find corners cut on other jobs — usually not because a crew didn't know better, but because it takes real time to do correctly and it's invisible once the siding goes back on. We treat it as the part of the job that determines whether the window lasts 30 years or needs rework in 8.
Sizing, Egress, and Energy Code in King County
New-construction openings give you a real chance to get sizing right the first time, which is a lot cheaper than resizing a rough opening later. A few things we check before framing is locked in:
Egress requirements
Bedrooms need a window that meets egress clear-opening dimensions and sill height limits under the building code adopted locally. On additions and remodels this is one of the most common items inspectors flag, so we confirm rough opening sizes against egress requirements before framing is finalized, not after.
Energy performance
Washington's energy code sets minimum U-factor and, in some cases, solar heat gain requirements for window assemblies, and King County jurisdictions enforce it at permit and inspection. We spec glass packages that meet or beat the required U-factor rather than defaulting to whatever's cheapest, since re-doing a window schedule after a failed energy code check delays the whole project.
Wind and exposure
Window assemblies carry a design pressure rating. On an exposed upper story or a corner lot with more wind exposure, we make sure the specified units are rated for the actual exposure of that wall, not just the minimum for the area in general.
Frame Material Trade-Offs for This Climate
There's no single "best" frame material — each has real trade-offs, and the right call depends on the project, budget, and how the homeowner wants to maintain the exterior long-term.
| Frame Material | How It Handles This Climate | Maintenance | Typical Trade-Off |
|---|---|---|---|
| Vinyl | Good moisture resistance, no rot risk, stable in damp conditions | Low — occasional cleaning | Limited color/finish options, can't be refinished if damaged |
| Fiberglass | Excellent dimensional stability through temperature and moisture swings | Low | Higher upfront cost than vinyl |
| Wood-clad | Good performance if the exterior cladding is intact; interior wood adds warmth | Moderate — clad exterior needs monitoring at joints and sills | Sensitive to installation quality; failure points show at end cuts and corners |
| Aluminum | Strong and slim sightlines, but conducts cold and can condense in our damp winters without a thermal break | Low | We only recommend thermally-broken assemblies here — standard aluminum is a poor fit for this climate |
For most Capitol Hill new-construction and addition work, we steer homeowners toward vinyl or fiberglass for straightforward performance and low upkeep, or thermally-broken aluminum where the design calls for narrow sightlines on larger glass. We'll walk through the actual trade-offs for your project rather than pushing one product line — the right choice depends on your elevation exposure, budget, and how the rest of the exterior is detailed.
Our Process on a New-Construction Job
1. Plan review and rough opening check. We review the window schedule against the framing plan before openings are cut, catching egress, sizing, or design pressure issues while they're still cheap to fix.
2. Site visit and sequencing. On additions and remodels especially, we coordinate install timing with the framer and siding crew so windows go in once the wall is properly dried-in but before cladding closes up the flashing work.
3. Sill pan and flashing install. Done in the correct shingle-lap order described above, with photos taken at each stage before it's covered — useful for both our records and yours.
4. Window set and fastening. Leveled, plumbed, and fastened to the manufacturer's schedule, with shims placed to avoid frame distortion.
5. Insulation and interior air seal. Gaps around the frame are insulated and air-sealed on the interior side — this affects both energy performance and condensation risk.
6. Final inspection walkthrough. We check operation, weep paths, and exterior trim details before signing off.
A Homeowner or Builder's Checklist
Whether you're managing the project directly or working through a general contractor, these are worth confirming before window install day:
- Rough openings match the actual window schedule, including egress-required bedroom windows
- Sill pan flashing is specified and installed before the window goes in, not skipped or substituted with sealant alone
- Head flashing or a drip cap is detailed to shed water clear of the window face
- Glass package U-factor meets Washington's current energy code minimums for your zone
- Frame material and finish match the exterior's overall maintenance plan, not just the budget line item
- Photos are taken of flashing and sill details before siding covers the opening
- Design pressure rating is appropriate for the wall's actual wind exposure
Why a Local King County Crew Matters Here
None of this is exotic work, but it's detail-sensitive, and the details that matter most are the ones specific to this region's weather — long wet seasons, driving rain that hits some elevations harder than others, and enough shaded, damp conditions in a neighborhood like Capitol Hill to grow moss on a roof or trim board that stays wet. A crew that installs windows in a dry climate and a crew that installs them here are solving different problems, even if the window itself is the same product. We work King County new-construction and addition projects regularly, which means we're not guessing at how a given wall assembly will perform through a Puget Sound winter — we've seen what holds up and what comes back as a callback a few years later.
We're also familiar with how King County jurisdictions handle inspections on new openings — what gets checked, what documentation helps the process move, and where energy code or egress questions tend to come up. That local familiarity saves time on permitting and reduces the chance of a failed inspection holding up your project.
If you've got a new build, an addition, or a framed-out remodel in Capitol Hill or elsewhere in King County, we're happy to take a look at your window schedule and rough openings and give you an honest read on what's needed. Reach out for a free, no-pressure estimate using the form below.