 King County
 Windows Built for Rainier Valley's Wet Winters
Rainier Valley sits in one of the wetter, greener corners of King County, and its housing stock reflects decades of Pacific Northwest weather working on wood, vinyl, and glass. Long stretches of drizzle, driving rain that comes in sideways during winter storms, and a moss season that seems to start earlier every year all add up to real wear on window frames, seals, and sills. A window that was installed correctly ten or fifteen years ago may still be performing fine. One that was rushed, under-flashed, or fitted with the wrong product for our climate is usually easy to spot from the inside: fogging between panes, soft wood at the sill, or a draft you can feel standing a few feet away.
This page is about window installation specifically for homes in and around Rainier Valley — what the climate demands, what a correct job looks like, and how we approach it as a crew that works this part of King County regularly.
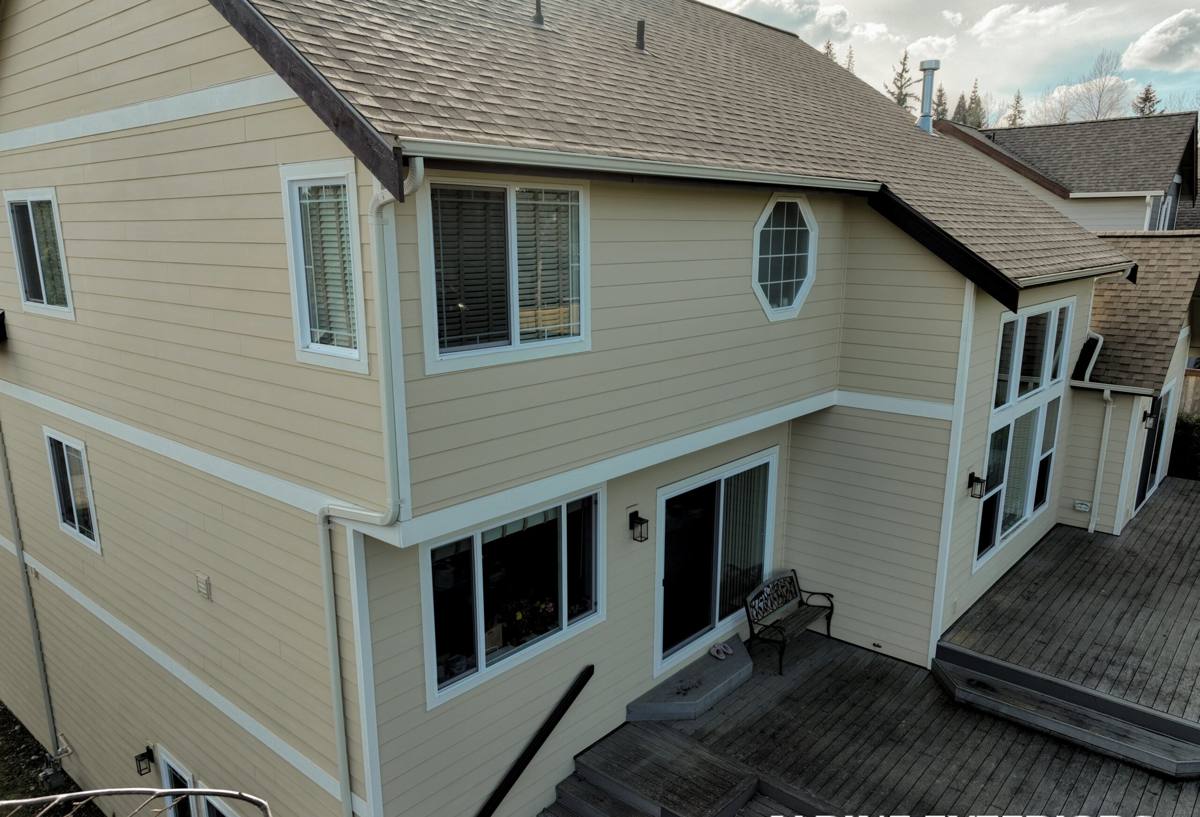
What Local Homes Actually Need From a Window
Every window replacement job has three jobs to do at once: keep water out, keep conditioned air in, and hold up to years of freeze-thaw cycling and moisture exposure without failing at the seams. In the Puget Sound region, water management usually matters more than raw insulation numbers. A window with a great energy rating but a poor flashing detail will still let water into the wall cavity during a hard winter storm, and that's the failure that costs the most to fix later.
For Rainier Valley homes specifically, we pay close attention to:
- Correct flashing integration with the existing wall assembly, especially on older homes where the original detailing wasn't built for today's air-sealing standards
- Sill pan installation so any water that does get past the exterior seal drains back out instead of pooling
- Sealant and caulking rated for repeated wet-dry cycling, not just a one-time bead that looks good on install day
- Frame materials that resist swelling, warping, or moss and algae growth in shaded, damp side yards
- Glass packages that cut down on condensation, which is a common complaint in homes with older single-pane or poorly sealed double-pane windows
Signs Your Windows Are Losing the Battle
Homeowners often wait longer than they should to replace failing windows because the early signs are subtle. Here's what we tell people to watch for between now and their next full moss season:
- Fogging or a milky haze between panes of double-pane glass — this means the seal has failed and the gas fill is gone
- Soft, discolored, or spongy wood at the sill or lower frame corners
- Visible daylight or a draft around the frame when the window is closed and locked
- Difficulty opening, closing, or locking a window that used to operate smoothly
- Moss or dark streaking on the exterior trim just below or beside the window
- Paint that keeps failing in the same spot no matter how often it's touched up
- A noticeable jump in heating costs with no other explanation
None of these on their own means a window needs to be replaced immediately, but two or more together — especially soft wood plus fogging — usually means the window and its surrounding frame are past the point of a simple repair.
What a Correct Window Installation Actually Involves
A window installation is only as good as the parts of the job nobody sees once the trim goes back on. The window itself is a manufactured product; the installation is where quality is actually won or lost. On every job we:
Inspect Before We Remove Anything
Before pulling the old window, we check the surrounding sheathing and framing for hidden rot or moisture damage. This is common in older Rainier Valley homes where a failed seal has been quietly letting water into the wall for years without an obvious interior sign. If we find damage, we deal with it before the new window goes in — sealing a new window into a compromised opening just delays the same problem.
Get the Water Management Right
This means correct sill pan flashing, properly lapped house wrap or building paper around the opening, and sealant placed so that any incidental water sheds outward instead of getting trapped behind the trim. In a climate with as much sustained rain as ours, this step matters more than almost anything else in the job.
Set the Window Level, Plumb, and Square
A window that's slightly out of square will bind, won't lock properly, and puts uneven stress on the frame and glass over time. We shim and fasten to the manufacturer's specification, not by eye.
Insulate the Gap Correctly
The gap between the window frame and the rough opening needs to be filled with a low-expansion foam or backer rod and sealant designed for that purpose — not packed tight with standard spray foam, which can bow the frame and cause operational problems.
Finish and Seal the Exterior
Trim, caulking, and paint or stain get finished to shed water, not just to look clean on installation day. This is also where we make sure the finished product matches the character of the home rather than looking like an obvious retrofit.
Window Types and How They Perform Here
There's no single "best" window material — each has real trade-offs, and the right choice depends on the home, the budget, and how much upkeep an owner wants to take on.
| Frame Material | Moisture Performance | Maintenance | Typical Fit |
|---|---|---|---|
| Vinyl | Good — won't rot, minimal sealant upkeep | Low | Most retrofit and replacement projects |
| Fiberglass | Very good — stable in temperature swings, low expansion | Low | Homes wanting a longer-term, higher-end option |
| Wood (clad exterior) | Good if maintained; exterior clad protects the wood | Moderate | Historic or traditional-style homes |
| Aluminum | Fair — prone to condensation without a thermal break | Low | Modern or commercial-style applications |
We don't push a single brand or material on every home. We'll walk through what's appropriate for your specific exposure, budget, and the age of your house, and explain honestly where a cheaper option will cost more in maintenance or callbacks down the line.
How Our Process Works
- On-site assessment — we look at your current windows, note any moisture or rot issues, and measure openings.
- Straight answers on options — we explain which materials and glass packages make sense for your home and budget, without upselling products you don't need.
- Written estimate — clear scope, materials, and price before any work begins.
- Scheduled installation — timed around weather where possible, since a dry install window matters for sealant and finish quality.
- Removal and prep — old windows come out carefully, and we check the opening before the new unit goes in.
- Installation and sealing — set, shimmed, insulated, and sealed to spec, not rushed.
- Final walkthrough — we test operation, locks, and finish with you before we consider the job done.
What Affects the Cost of a Window Installation
We won't quote a fixed price without seeing the job, but here's what typically drives cost up or down on a Rainier Valley window project:
| Factor | Effect on Cost |
|---|---|
| Frame material (vinyl vs. fiberglass vs. wood) | Vinyl is generally the most affordable; fiberglass and clad wood cost more upfront |
| Hidden rot or framing damage found during removal | Adds labor and material cost to repair before the new window is set |
| Number of windows done at once | Doing several at once usually lowers the per-window cost versus one at a time |
| Glass package (standard double-pane vs. upgraded low-E or triple-pane) | Upgraded glass adds cost but can reduce condensation and heating bills |
| Access and second-story work | Harder-to-reach windows take more time and equipment |
| Trim and exterior finish work | Matching existing trim profiles or repainting adds to the scope |
Why a Crew That Already Works Rainier Valley Matters
Window installation isn't a one-size-fits-all trade. A crew that regularly works this part of King County has already seen how the local housing stock was built, what kind of rot patterns show up in homes of a given age, and how much rain exposure a given side of a house typically takes through a wet Puget Sound winter. That familiarity shows up in small decisions — how much sealant to use, whether a sill pan needs an extra layer of protection, how to flash around an original opening that wasn't built to modern standards — that a crew unfamiliar with the area might get wrong on the first try.
It also matters for accountability. A local contractor is easy to reach if a question comes up after the job is done, and has a reputation in the neighborhood worth protecting. We treat every Rainier Valley window job as one more reason for a homeowner to recommend us to a neighbor, not just a one-time transaction.
Caring for New Windows After Installation
A correctly installed window still benefits from basic upkeep, especially given our climate:
- Rinse exterior frames periodically to keep moss and algae from taking hold in shaded areas
- Check exterior caulking annually for cracking or separation, particularly after a hard winter
- Keep gutters and downspouts clear so water isn't running down the wall directly above a window
- Operate locks and hardware a few times through the year, even on windows you don't open often, to keep mechanisms from seizing
- Wipe down interior sills during humid stretches to avoid condensation sitting on wood or painted surfaces
None of this is heavy maintenance — it's the kind of routine care that extends the life of a well-installed window well past what a neglected one will manage.
Get a Straight Answer on Your Windows
If you're dealing with drafts, fogged glass, soft sills, or windows that just don't operate the way they used to, we're happy to take a look and give you an honest read on whether repair or replacement makes more sense for your home. There's no pressure and no obligation — just a straightforward estimate from a crew that works Rainier Valley and the surrounding King County area regularly. Use the form below to request your free estimate.