 King County
 Building New in Ballard? Windows Are Where Framing Meets Weather
Ballard sits close enough to Salmon Bay and Puget Sound that new construction here deals with a specific mix of conditions: salt-laden air off the water, driving rain that comes in sideways during fall and winter storms, and a moss season that runs long and damp for much of the year. None of that is dramatic on its own, but over the life of a building envelope it adds up. New-construction window installation is the one point in the build where you get a single chance to set flashing, water-resistive barrier (WRB) integration, and frame anchoring correctly before siding closes everything in. Get it right and the windows perform quietly for decades. Get it wrong and the problems show up years later, hidden behind finished walls.
This page is about that one job — installing windows into new framing in Ballard — not window replacement in an existing wall, which is a different scope with different sequencing.
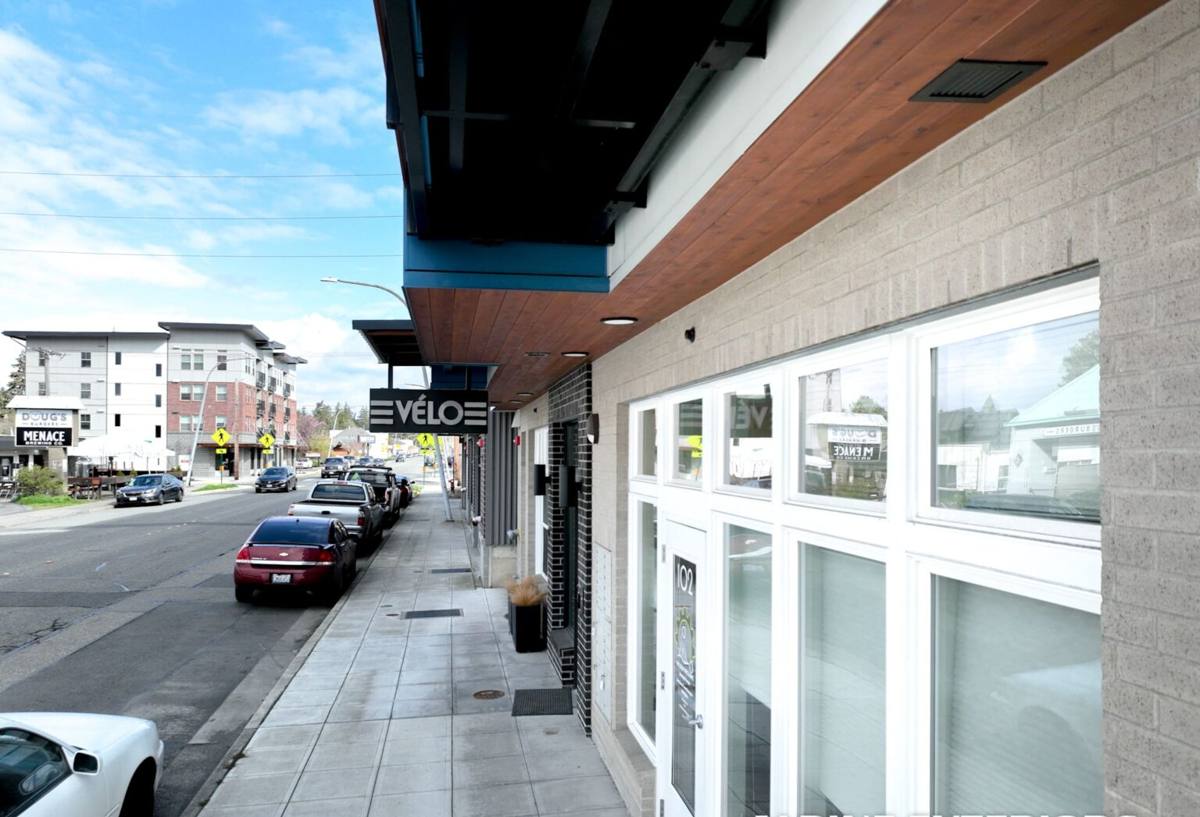
What Ballard's Climate Actually Demands From a New-Construction Install
Salt Air and Corrosion
Homes closer to the water deal with airborne salt that accelerates corrosion on exposed fasteners, hardware, and lower-quality flashing metals. On new construction this mostly affects material choice: fasteners and flashing components should be rated for coastal or marine-adjacent exposure, not just standard interior-grade hardware. It's a small cost difference at install time and a much bigger cost difference if hardware starts corroding in ten years.
Driving Rain
King County storms frequently push rain horizontally, which means water hits window assemblies at an angle instead of just running straight down. A house that would stay dry in a light vertical rain can still leak in a wind-driven storm if the flashing details weren't built to shed water sideways as well as down. This is why proper head flashing, sill pan flashing, and WRB lapping sequence matter more here than in drier climates — the margin for error is smaller.
Long Moss and Damp Season
Extended periods of damp, low-light weather mean any trapped moisture in a wall assembly has more time to do damage before a dry stretch lets it evaporate out. New construction gives you the advantage of building the drainage plane correctly from the start — proper flashing laps, a functioning weep path at the sill, and clear separation between the window frame and any moisture that does get past the exterior cladding.
What a Correct New-Construction Window Install Involves
The window unit itself is only part of the job. The install sequence is what actually determines whether the assembly stays dry.
- Rough opening checked for correct size, square, level, and plumb before the window ever goes in
- Sill pan flashing installed to create a sloped, sealed drainage path at the bottom of the opening — this is the detail most likely to be skipped or rushed on a fast-moving job
- WRB (weather-resistive barrier) properly cut, lapped, and integrated with the window flange in the correct shingle-style sequence — bottom, sides, then top, so water always drains over the layer below it, never behind it
- Window set plumb, level, and square in the opening, with shims placed at manufacturer-specified points to avoid frame distortion
- Fastening per manufacturer specification — nailing fin or screw-flange units fastened at the correct spacing and pattern, not "close enough"
- Flashing tape or self-adhered flashing at jambs and head, lapped correctly over the WRB
- Head flashing installed above the window before siding closes it in, with a drip edge that directs water away from the top of the frame
- Interior and exterior sealant joints placed where specified — and only where specified, since sealing the wrong spot can trap water instead of releasing it
- Weep holes or drainage paths at the sill left clear and functional, not sealed shut by mistake
Every one of those steps is inspectable at the time it's done and essentially invisible once siding goes up. That's the core challenge of new-construction window work: the quality of the job is judged years later, by whether water stays out, not by how the finished wall looks on install day.
Nailing Fin vs. Block Frame: Getting the Right Fit for the Wall Assembly
New-construction windows are typically installed with either a nailing fin (flange) that fastens directly to the sheathing, or as a block-frame unit set into a rough opening without a flange, relying on shims and interior/exterior trim for retention. Which one is appropriate depends on the wall assembly your builder or architect has specified.
| Factor | Nailing Fin (Flange) | Block Frame |
|---|---|---|
| Typical use | Standard wood-framed walls with WRB and siding | Masonry, stucco, or certain rainscreen assemblies |
| Water management | Flange integrates directly with WRB in a shingle-lap sequence | Relies on separate flashing pan and sealant detailing around the frame |
| Install speed | Generally faster on standard framing | More labor-intensive, more trim work |
| Common failure point if done wrong | Fin fastened before WRB lap sequence is correct | Gaps at the frame-to-rough-opening interface left unsealed or over-sealed |
Neither approach is inherently better — they're suited to different wall systems. What matters is that the crew installing the windows is following the detail that matches the wall assembly actually being built, not defaulting to whatever method is fastest.
Energy Code and Egress Requirements in King County
New construction in Washington State falls under the Washington State Energy Code, which sets minimum U-factor and solar heat gain coefficient (SHGC) requirements for windows based on the building's overall energy compliance path. King County jurisdictions enforce this at permit and inspection. On a new build, window selection isn't just about style and budget — the glass package has to meet the energy targets the rest of the building envelope is designed around, and swapping in a lower-performing unit after the energy calculations are done can create compliance problems at inspection.
Bedrooms and other habitable spaces also have egress requirements — minimum clear opening width, height, and total area, along with a maximum sill height above the finished floor. These aren't flexible on new construction; the rough openings and window selections need to account for egress from the framing stage, not be adjusted after the fact.
What We Confirm Before Install
- U-factor and SHGC ratings match the project's energy code compliance path
- Egress windows meet minimum clear opening and sill height requirements for their room type
- Rough opening sizes match the specified window schedule before units arrive on site
- Flashing and WRB details match the wall assembly type specified for the project
Our Process on New-Construction Jobs
1. Coordinate With the Build Schedule
Window install happens at a specific point in framing — after rough openings are set and the WRB is ready to receive the window, before siding closes the wall. We coordinate timing with the builder or general contractor so windows go in at the right stage, not too early or too late in the sequence.
2. Verify Openings and Materials
Before install day, we confirm rough opening dimensions against the window schedule, check that flashing materials and fasteners are rated for the exposure (including salt-air exposure for homes closer to the water), and make sure the WRB is in place and ready.
3. Install to Manufacturer Spec
Sill pan, WRB lap sequence, fastening pattern, and head flashing are all installed per the window manufacturer's instructions — this is also what keeps the manufacturer's warranty intact, since most warranties are conditioned on correct installation.
4. Document Before Siding Closes It In
We check and document flashing and sealant details before siding goes on, because that's the last point anyone can verify the work without opening the wall back up.
Why Hire a Crew That Already Works in Ballard
A window install detail that works fine in a drier inland climate can fail in a few years near Salmon Bay if the flashing sequence wasn't built for driving rain and salt exposure. Crews who work regularly in King County's coastal-adjacent neighborhoods know to spec corrosion-resistant hardware without being asked, understand how local building departments interpret the Washington State Energy Code and egress requirements at inspection, and build flashing sequences around the reality of sideways rain rather than a textbook vertical-rain assumption. That local familiarity shows up as fewer callbacks, not fewer invoices — it's cheaper for everyone when the wall is built right the first time.
Common Questions From Builders and Homeowners on New Construction
Most questions we get on new-construction jobs come down to sequencing and responsibility: who confirms rough openings before windows are ordered, who's responsible for flashing details versus who's responsible for siding, and how window install timing affects the rest of the exterior schedule. We work directly with your builder or general contractor to answer those questions before install day, not during it, so there's no ambiguity about what's been done and what's left for the next trade.
If you're framing a new build or addition in Ballard and want the window package specified and installed correctly the first time, we're glad to walk the plans with you. Reach out for a free, no-pressure estimate — the form below gets you started.