 King County
 Building New in Kent: Why Window Choices Matter From Day One
If you're framing a new home or an addition in Kent, the windows are one of the few components that get exactly one chance to be installed correctly. Once siding, trim, and interior finishes go up around them, fixing a bad flashing job or an undersized unit means tearing back work that's already paid for. New-construction window installation isn't just "putting glass in a hole" — it's a sequence of steps involving the rough opening, the weather-resistive barrier, the flashing, and the window itself, all of which have to work together as one system.
King County builders and homeowners in Kent are working within the same Puget Sound weather pattern as the rest of the region: long stretches of driving rain, marine-influenced humidity, and a moss and mildew season that can run eight or nine months out of the year. Windows installed without accounting for that reality tend to show problems early — usually within the first two or three wet seasons, right around when a builder's warranty is running out.
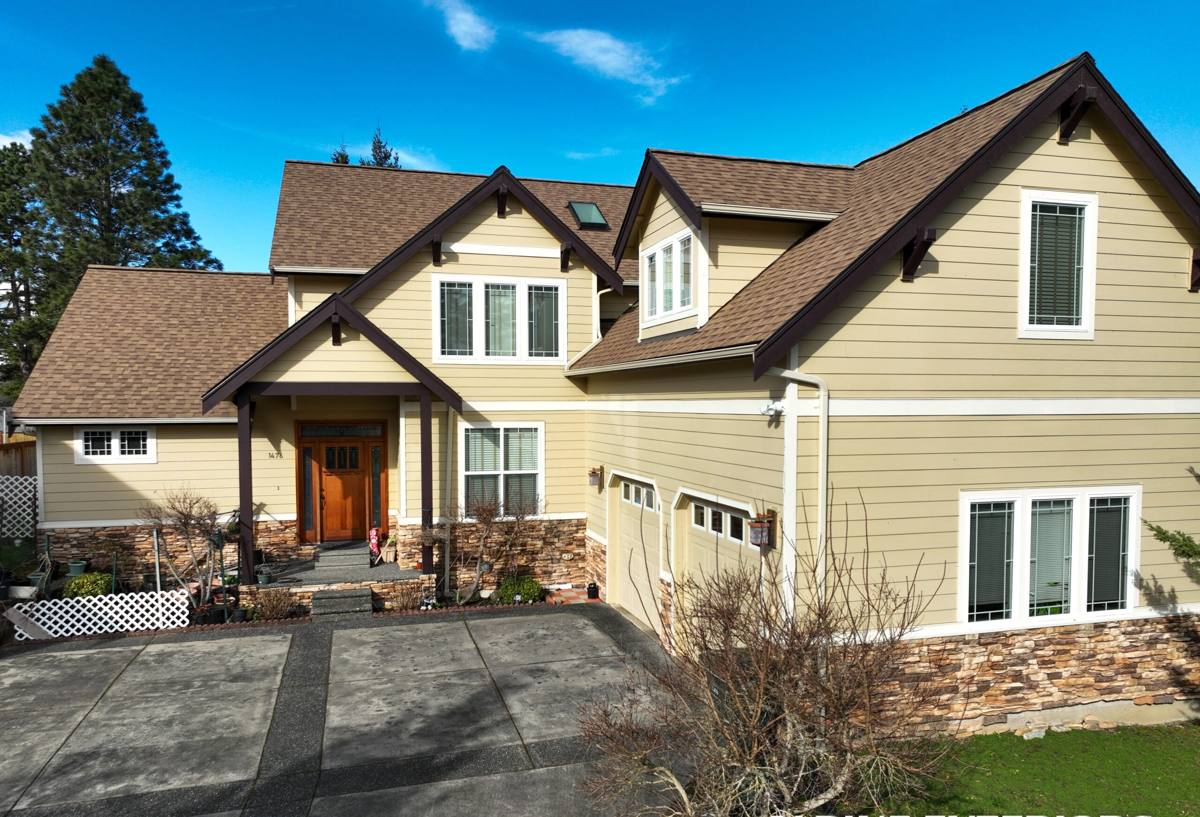
What Kent's Climate Demands From New-Construction Windows
Kent sits in the Green River Valley, inland from the Sound but still squarely inside the marine weather system that defines this whole part of King County. That means moisture-laden air, wind-driven rain events, and prolonged damp periods where surfaces rarely get a chance to fully dry out before the next system rolls through. A few things follow from that:
- Rain here doesn't fall straight down as often as people assume — wind pushes it sideways into wall assemblies, which is why flashing details at the head and sill matter more than the window unit itself.
- Extended damp periods encourage moss, algae, and mildew growth on any surface that stays wet, including window sills, trim, and cladding around the opening.
- Salt-tinged marine air moving through the broader Puget Sound region accelerates corrosion on lower-grade hardware, fasteners, and unclad wood trim over time.
- Temperature swings between damp winter mornings and warmer summer afternoons stress seals and caulking, especially on south- and west-facing elevations.
None of this means Kent needs exotic materials. It means the installation has to be done in a way that assumes water will reach the opening at some point, and gives that water a controlled path back out instead of into the wall cavity.
Moss Season and Why It's a Window Issue, Not Just a Roof Issue
Most homeowners think of moss as a roofing problem, but it shows up on window sills, exterior trim, and anywhere else moisture sits without airflow or sun exposure. New-construction windows installed with proper sill pitch and drainage shed water fast enough that moss and algae have less to grow on. Flat or poorly pitched sills — a common shortcut on tight construction schedules — become long-term moss magnets and slowly stain the siding and trim below them.
New Construction vs. Replacement: Why the Installation Method Is Different
New-construction windows are installed into a framed, unfinished opening before siding and exterior trim go on. That's the opposite situation from a replacement window, which gets set into an existing, finished wall. The difference matters because new construction gives us full access to the rough opening, the sheathing, and the weather-resistive barrier — which means there's no excuse for skipping steps that a replacement job sometimes has to work around.
| Factor | New Construction | Replacement |
|---|---|---|
| Access to rough opening | Full access to sheathing and framing | Limited — existing trim and siding stay in place |
| Flashing method | Full flange, integrated with weather barrier | Often flush-fin or block-frame, sealant-dependent |
| Sequencing | Coordinated with framer, siding, and trim crews | Standalone visit, minimal coordination needed |
| Best time to catch defects | Before siding closes the wall up | Limited — mistakes are often hidden immediately |
Because new construction gives us that access, there's really no reason a Kent build should end up with the kind of flashing shortcuts that cause leaks five years down the road. The opportunity to do it right is right there.
Getting the Details Right: Flashing, Sequencing, and Weather Barriers
Window Flashing and the Weather-Resistive Barrier
The single biggest factor in whether a new-construction window stays dry for decades is how the flashing integrates with the house wrap or weather-resistive barrier. Water has to be directed down and out at every layer — sill pan first, then side flashing, then head flashing lapped over the top so each layer sheds onto the one below it, shingle-style. Skipping the sill pan, or relying on caulk alone to seal the bottom of the opening, is the single most common cause of hidden rot we find behind window openings in this region.
Sequencing With Siding and Trim Crews
On a new build, window installation has to happen at the right point in the schedule — after the weather barrier is up and taped, but before siding closes in around the opening. Installing too early or too late creates gaps in the drainage plane that are nearly impossible to fix once the wall is finished. This is where coordination with the general contractor and framing crew matters as much as the window installation itself.
Choosing Frame Materials for a Kent Build
Frame material affects how a window handles the constant damp-to-dry cycling that's normal here. There's no single "correct" answer for every home — it depends on budget, architectural style, and how much long-term maintenance the owner wants to take on.
| Material | Moisture Resistance | Maintenance | Typical Fit |
|---|---|---|---|
| Vinyl | Good — won't rot, but seams and welds need quality control | Low | Budget-conscious builds, rental and spec homes |
| Fiberglass | Very good — dimensionally stable in wet/dry cycling | Low | Long-term owner-occupied homes |
| Wood-clad | Good on the exterior face, vulnerable at cut ends and joints | Higher — finish upkeep needed | Traditional or higher-end architectural styles |
| Aluminum | Poor thermal performance, prone to condensation in our climate | Low | Rarely our recommendation for residential in this region |
We steer most Kent new-construction clients toward vinyl or fiberglass for standard builds, and wood-clad when the architecture calls for it and the owner understands the maintenance commitment. We don't push any one brand as a blanket recommendation — the right call depends on the home's design, sun exposure, and the owner's tolerance for upkeep.
Our New-Construction Window Process
- Plan review: We check window schedules against actual rough opening sizes and framing details before anything ships.
- Coordination with the builder: We confirm timing with the framing and siding crews so windows go in at the right point in the sequence.
- Weather barrier inspection: We verify the house wrap or barrier is properly lapped and taped before setting any window.
- Sill pan and flashing installation: Sill pans go in first, followed by side and head flashing in the correct shingle-lap order.
- Setting and shimming: Windows are set plumb, level, and square, with shimming that avoids putting stress on the frame.
- Insulation and air sealing: Gaps around the frame are sealed with appropriate low-expansion foam or backer rod, not just caulk.
- Final inspection: We check operation, seal integrity, and flashing coverage before the siding crew closes the wall.
Working With Builders, GCs, and Architects in Kent
A lot of our new-construction work in King County comes through general contractors and builders who need a window crew that shows up on schedule and doesn't hold up the framing timeline. That means having material on-site when the build calls for it, communicating directly with the site super about sequencing, and flagging rough opening discrepancies before they become a change order. Homeowners managing their own build have the same needs, just with more direct hand-holding through decisions like frame material, glass packages, and where operable versus fixed units make sense.
Common Mistakes We See in New-Construction Window Installs
Most of the callback issues we get asked to fix on new builds trace back to a handful of avoidable mistakes:
- No sill pan flashing, or a sill pan installed after the window instead of before it
- Caulk used as the primary water barrier instead of proper flashing layers
- Weather-resistive barrier not lapped correctly over the flashing at the top of the opening
- Windows shimmed unevenly, causing frame distortion and premature seal failure
- Siding installed tight against the window frame with no room for expansion or drainage
- Rough openings cut oversized and packed with expanding foam instead of properly shimmed
Every one of these is preventable with the right sequence and a crew that isn't rushing to hit a framing deadline at the expense of the details.
Why a Crew That Already Works Kent Matters
Window installation standards and best practices don't change much from city to city, but familiarity with local building departments, typical framing conventions, and the pace of King County construction schedules does make a difference. A crew that regularly works Kent job sites knows what inspectors here are looking for at flashing checks, has a working relationship with the local lumberyards and window suppliers, and isn't learning the regional weather patterns on your project. That translates into fewer surprises, fewer schedule delays, and windows that are set up to handle this region's rain and moisture load from day one — not just at the final walkthrough.
If you're planning a new build or addition in Kent and want window installation done right the first time, we're happy to take a look at your plans and walk the site. Reach out for a free, no-pressure estimate — there's a form below to get started.