 King County
 New-Construction Windows Are a Different Job Than Replacement
New-construction windows go into a rough opening before the siding, trim, or finish materials exist — during a ground-up build, a full teardown-rebuild, or a room addition where the wall is open to the studs. They're secured with a nailing fin that fastens directly to the framing and gets integrated into the weather-resistive barrier (WRB) as the wall is built up around it. That's a fundamentally different job from a replacement window, which gets fit into an existing, already-finished opening.
Mercer Island sees a fair amount of this work. High land values on the island mean older homes are frequently torn down and rebuilt rather than remodeled piecemeal, and additions are common where a lot allows it. That gives us a steady mix of new-construction window jobs alongside our replacement work — and it means we're regularly coordinating window installation with builders, framers, and the flashing and siding trades on active job sites, not just working solo in a finished home.
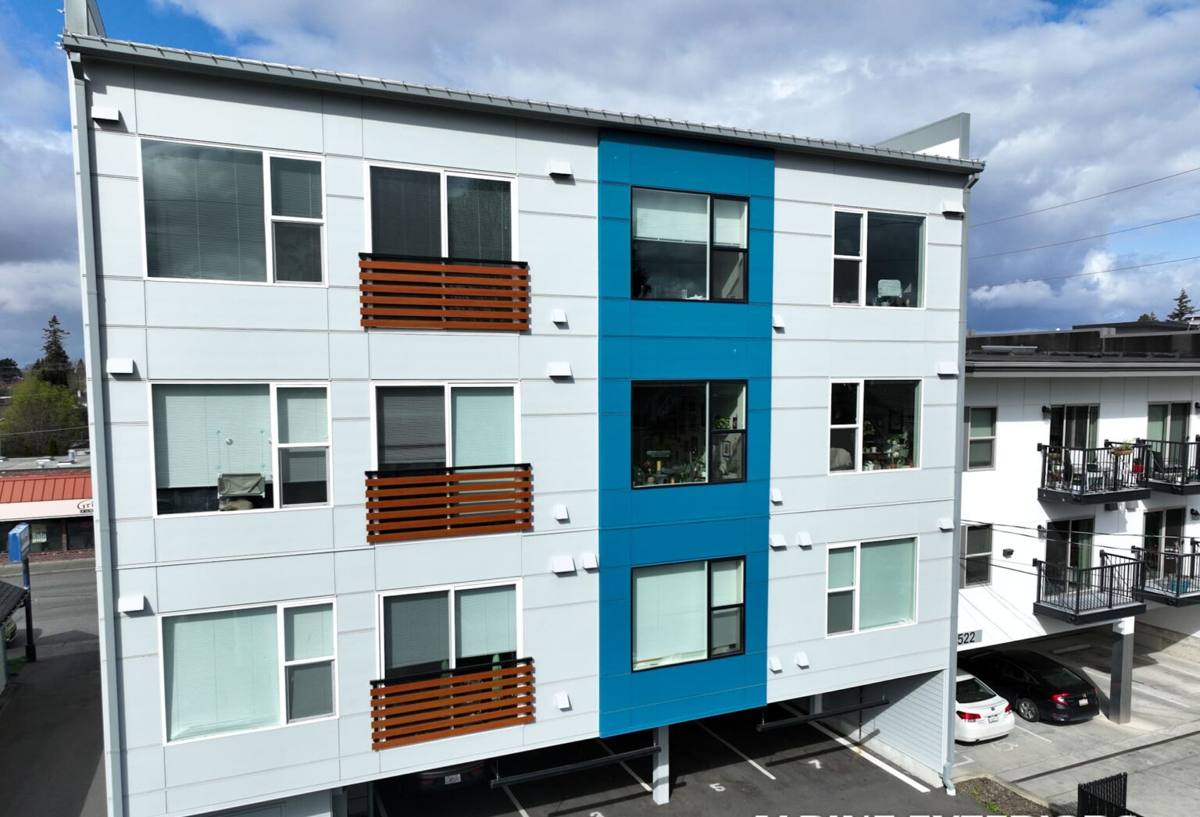
What Mercer Island's Weather Asks of a New Window Install
Wind-Driven Rain Off the Lake
Mercer Island sits surrounded by Lake Washington, and homes with lake or territorial exposure catch more direct wind than a sheltered, tree-buffered lot. During fall and winter storms that wind pushes rain sideways against the building envelope instead of letting it fall straight down. A window flashing detail that would hold up fine on a calm, sheltered lot can fail on an exposed one if the laps, tape, and sill pan aren't built to shed water that's arriving at an angle. We size up wind exposure on a given lot before we finalize the flashing plan, not after.
Moss, Shade, and a Long Damp Season
A lot of Mercer Island lots are wooded with mature conifers, and that canopy keeps sheathing, trim, and window openings damp longer after a storm than an open lot would. Combined with the broader wet, marine-influenced climate King County sees for a good chunk of the year, that slower dry-out window is exactly the condition moss and mildew need to get established at sill lines and trim joints. It doesn't change how a window is built, but it does change how forgiving the install has to be — sloppy sealant lines or a missed drainage path show up as moss and staining faster here than they would in a drier climate.
What a Correct Install Actually Involves
Done right, a new-construction window install follows a specific sequence, every time, regardless of which window brand is going in:
- Rough opening checked for square, level, and correct size before the window ever shows up on site
- Sill pan flashing installed first, sloped to drain any water that gets past the window back to the exterior — not into the wall cavity
- WRB integrated in proper shingle-lap order: sill flashing first, then jamb flashing, then head flashing last, so water always sheds downward and outward over the layer below it
- Window set, shimmed, and fastened through the nailing fin per the manufacturer's schedule — not just a bead of caulk and hope
- Backer rod and sealant at the interior air seal line, separate from the exterior weather seal, so the assembly manages both air and water correctly
- Final check for level, square, and smooth operation before the opening gets covered by siding or trim
Skip or shortcut any one of those steps and the window can look fine for a year or two before a leak shows up — usually as a stain on interior trim or drywall, by which point water has likely been getting into the wall cavity for a while.
Picking the Right Window for a King County New Build
Frame material matters more on a new build than most homeowners expect, because you're choosing it once and living with the maintenance and performance trade-offs for decades. Here's how the common options stack up for a King County new-construction project:
| Frame Material | Moisture Behavior | Maintenance | Best Fit |
|---|---|---|---|
| Vinyl | Won't rot; performs well in wet climates | Low — no painting, occasional cleaning | Value-focused builds, rental or spec construction |
| Fiberglass | Excellent stability, minimal expansion/contraction with temperature swings | Low, holds paint well if a custom color is wanted | Larger openings, higher-end new builds |
| Wood-clad | Good if the exterior cladding is fully sealed and maintained; interior wood needs protection from condensation | Higher — cladding seams and any exposed wood need periodic inspection | Homes prioritizing a wood interior look, with an owner willing to keep up on maintenance |
We'll install whichever product fits your project and budget, but we do point clients toward materials with a low, predictable maintenance burden for anything with significant lake wind or shade exposure — a wood-clad window with a compromised seam is a much bigger long-term headache in this climate than the same detail on a dry-climate build.
Washington's energy code also sets minimum performance requirements for window U-factor and solar heat gain, and any new-construction glazing package here has to meet current code before the project can pass final inspection. On lake-view homes with large glass openings, that code compliance has to be balanced against the amount and orientation of glass the design calls for — worth discussing with your builder or designer early, since it affects window selection, not just installation.
Our Process When We're Brought Onto a Build
Most of our new-construction work comes through a general contractor or builder, though we also work directly with homeowners managing their own build. Either way, the process looks similar:
- We review the window schedule and rough opening dimensions against the plans before anything is ordered, so sizing problems get caught on paper instead of on site
- We walk the framed openings once the house is dried in enough for us to check square, level, and flashing readiness
- We coordinate install timing with the WRB and siding trades, since sill and jamb flashing has to be sequenced correctly with the wall wrap — not installed as an afterthought
- We install, then do our own quality check on every opening before it's covered by trim or siding
- We're available for the inspection process and any punch-list items that come up before closeout
We're not the general contractor and we don't manage the whole build — but for the window scope specifically, we work as an extension of your build team, on your schedule.
Mistakes We See — and Build Around
Most window leaks we get called out to inspect trace back to a handful of repeatable mistakes, usually from a crew that installs windows occasionally rather than as a core part of their trade:
- Foam or caulk used as the only seal, with no sill pan or proper flashing lap underneath it
- Flashing tape applied out of shingle-lap order, so water gets funneled behind the WRB instead of over it
- Missing or improperly sloped sill pans, which turn any water intrusion into standing water inside the wall
- Fasteners driven into the wrong substrate, or a fastening schedule that doesn't match the window manufacturer's requirements — which can also void the product warranty
None of these show up as a problem on install day. They show up two, five, or ten winters later, usually after several seasons of King County rain have found the gap. Getting the sequence right the first time is far cheaper than opening up a wall to fix it after the fact.
First Few Years: What to Watch and Maintain
A correctly installed new-construction window shouldn't need much attention, but a little seasonal awareness catches small issues before they become water problems:
- Check that weep holes at the base of each window are clear of dirt, debris, or moss buildup
- Look over exterior sealant lines once a year, ideally before the fall rains start
- Watch for moss or dark staining collecting at sills and trim, especially on shaded or lake-facing elevations — it's often the first visible sign of a slow-dry spot
- Note any new drafts or operating stiffness, which can signal settling or a shifted seal
- Keep gutters and downspouts near window openings clear so roof runoff isn't dumping extra water onto trim it wasn't designed to handle
Why It Matters to Hire a Crew Already Working on Mercer Island
New-construction window work depends on getting a lot of small details right in coordination with other trades, and local familiarity helps on both counts. We know Mercer Island's building and inspection process from having gone through it repeatedly, which keeps scheduling predictable for the builders we work with. Many island lots are also tighter than a typical King County suburban lot, and some neighborhoods carry tree-preservation or design-review requirements that can affect where materials stage or how work gets sequenced on site — the kind of thing that's easier to plan around when it's not the first time you've encountered it.
That local experience, paired with a flashing and sequencing process built for wind-driven rain and a long damp season rather than a drier climate, is the difference between a window install that just looks finished on install day and one that's still performing correctly ten winters from now.
If you're planning new construction, an addition, or a full rebuild on Mercer Island, we're happy to take a look at your plans and put together a straightforward, no-pressure estimate — just fill out the form below.