 King County
 New-Construction Windows in Renton: Getting the Install Right the First Time
When you're framing a new home or an addition in Renton, the windows you choose and how they're installed will quietly determine whether that wall stays dry for the next 30 years or starts hiding rot behind the drywall in five. New-construction window installation is fundamentally different from a replacement job — there's no existing frame to work around, which means there's no excuse for a shortcut. The nailing fin, the flashing sequence, and the water-resistive barrier integration all have to happen in the right order, before siding ever goes up. Get it right at this stage and you rarely think about it again. Get it wrong and it's a tear-out.
King County Exterior installs new-construction windows for builders, remodelers, and homeowners throughout Renton and the surrounding King County area. We're not asking you to trust a sales pitch — we're asking you to look at the flashing details, because that's what actually keeps water out.
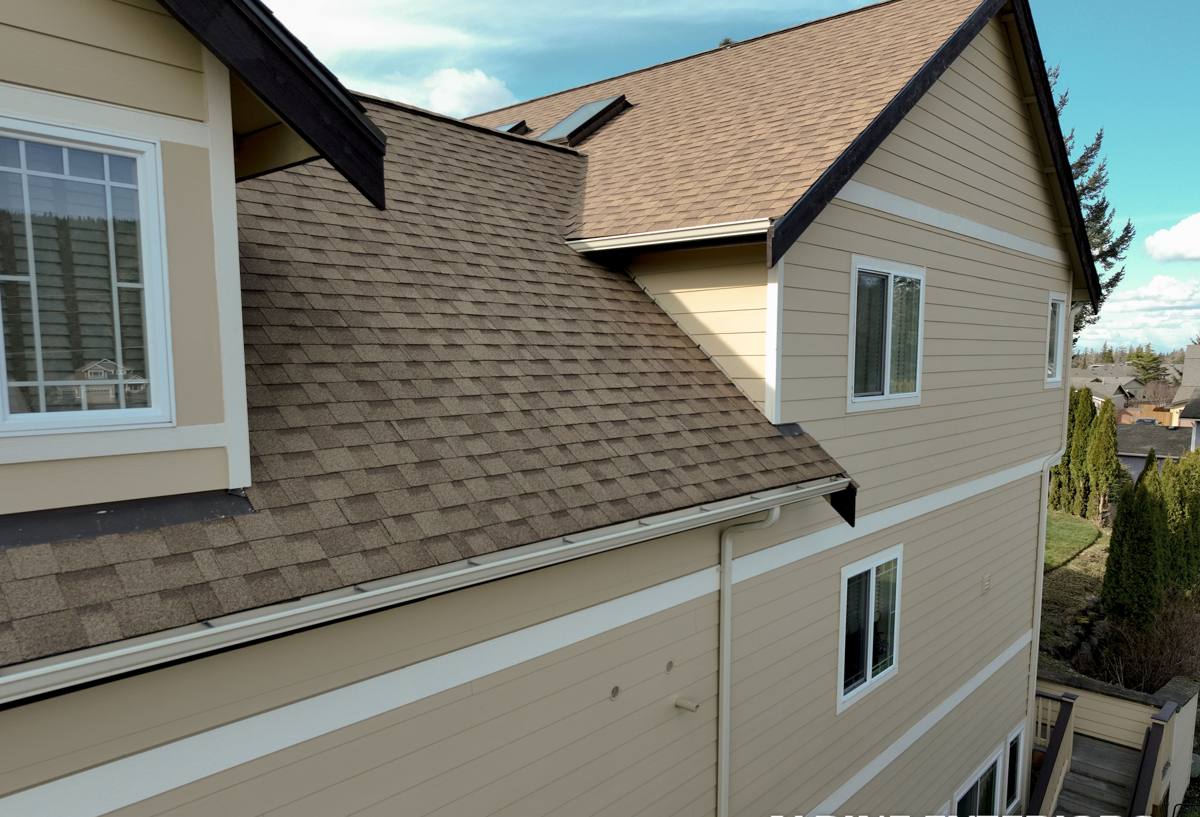
What Renton's Climate Asks of a New Window Install
Renton sits in a marine climate that doesn't do a homeowner any favors when it comes to window openings. Driving rain off the water pushes moisture sideways into wall assemblies, not just straight down, which means gravity-only flashing details aren't good enough here. A long, damp moss season keeps roofs, trim, and window heads wet for months at a stretch, and salt-tinged air along the water accelerates corrosion on fasteners, hardware, and lower-grade metal flashing over time.
None of that is dramatic on its own. It's the accumulation — wet season after wet season — that finds every weak point in an installation. A window that was "close enough" in a drier climate will fail here faster, because the wall assembly almost never gets a real chance to dry out between storms.
What this means in practice
- Sill pans and back dams are not optional — they're the last line of defense if any water gets past the flashing
- Fasteners and flashing metal need to be corrosion-resistant, not just paint-grade
- Sealant joints need to be sized and backed correctly, since UV and moisture cycling break down cheap or misapplied sealant faster in wet climates
- Head flashing needs real drip-edge geometry, not a bead of caulk pretending to be flashing
Replacement vs. New-Construction: Why the Distinction Matters
A lot of homeowners assume "window installation" is one job. It isn't. New-construction windows have a nailing fin designed to be integrated directly into the wall's water-resistive barrier (WRB) before siding goes on — the window becomes part of the drainage plane, not something bolted into an existing opening after the fact.
That's an advantage when it's done correctly, because you get a fully integrated, continuous drainage path from roof to foundation. It's a liability when it's rushed, because there's no siding or trim to hide a bad flashing job later — the mistake gets sealed inside the wall.
| Factor | New-Construction Window | Replacement (Insert) Window |
|---|---|---|
| When it's used | New builds, additions, full wall re-sides down to sheathing | Existing openings where siding/trim stays in place |
| Flashing integration | Fin flashes directly into the WRB and drainage plane | Relies on the existing frame and surrounding flashing |
| Access for correction | Full access to sheathing, framing, and rough opening | Limited — existing exterior finishes stay in place |
| Long-term risk if done wrong | Hidden behind siding — often not found until damage shows | Similar, but smaller exposed area to fail |
What a Correct Install Actually Involves
There's no single dramatic step that makes a new-construction window install "good." It's a sequence, and every layer has to lap correctly over the one below it, the same way shingles work on a roof — water always moves down and out, never in.
The sequence we follow
- Rough opening check — verify the opening is square, plumb, and sized correctly before the window ever shows up on site
- Sill pan flashing — a sloped, sealed pan with a back dam so any water that gets past the window has somewhere to go besides your framing
- Jamb flashing — sealed to the sill pan and lapped correctly with the WRB on both sides
- Window set — leveled, shimmed, and fastened per the manufacturer's structural requirements, not just "looks straight"
- Head flashing — installed last, lapping over the WRB above it, so water sheds outward and down, never behind the flashing
- Sealant and backer rod — sized correctly at the perimeter, with weep paths left open where the window design requires drainage
- Interior air seal — a separate detail from the exterior water seal, addressing draft and condensation control
Skip or reverse any one of those steps and the window can look perfect for years while quietly feeding water into the wall.
Choosing Window Materials for a Wet Climate
Framing material matters less than installation quality, but it's still worth getting right, especially somewhere as consistently damp as Renton.
| Frame Material | How It Handles Our Climate | Maintenance |
|---|---|---|
| Vinyl | Good moisture resistance, no corrosion risk, budget-friendly | Low — occasional cleaning |
| Fiberglass | Very stable dimensionally, holds up well to moisture and temperature swings | Low — durable finish |
| Wood-clad | Attractive interior wood look; exterior cladding protects from weather if seals stay intact | Higher — perimeter seals need periodic inspection |
| Aluminum | Strong and slim sightlines, but prone to condensation and corrosion near salt air unless thermally broken | Moderate — check fasteners and finish over time |
We don't push one brand or material as "the only right answer." What we do is tell you honestly where each option trades off — vinyl and fiberglass are the lower-maintenance choices for most Renton homes, wood-clad is a legitimate choice if you want the interior look and are willing to keep an eye on exterior seals, and standard (non-thermally-broken) aluminum is the one we're most cautious about recommending this close to the water.
Mistakes We See in New-Construction Window Installs
Most of the callback and repair work we get on newer homes traces back to a handful of repeatable errors, not exotic problems:
- Head flashing installed before the WRB above it, instead of lapped over it — water runs behind the flashing instead of over it
- No sill pan, or a sill pan without a back dam, so incidental water has nowhere to go but into the framing
- Caulk used as a substitute for proper flashing laps, instead of as a secondary seal
- Weep holes sealed shut with paint or caulk, trapping water inside the frame
- Fasteners that aren't corrosion-resistant, leading to rust streaks and loosened hardware within a few wet seasons
None of these show up on day one. That's exactly why they're dangerous — they surface as stains, soft trim, or musty smells a year or two later, after the damage is already inside the wall.
Our Process, Start to Finish
When we take on a new-construction window package in Renton, the process is straightforward and we walk builders and homeowners through it up front:
What to expect
- On-site measurement and rough opening review, coordinated with the framing schedule
- Window selection guidance based on orientation, exposure, and budget — not a one-size pitch
- Flashing and WRB integration completed in the correct sequence, inspected before siding covers it
- Final set, seal, and adjustment so sashes operate smoothly and locks engage properly
- A walkthrough so you know what was done and why, especially at any details that will be hidden once siding and trim go on
We work directly with builders and GCs on new construction, and we're equally comfortable coordinating with a homeowner managing their own project. Either way, we document the flashing work before it disappears behind the wall finish, because that's the part you can't inspect later.
Cost Factors for New-Construction Window Installation
Every project is different, so we won't quote a number without seeing the opening count, sizes, and window selection — but these are the main things that move the price:
| Factor | Why It Affects Cost |
|---|---|
| Number and size of openings | More openings and larger units mean more material and labor time |
| Frame material and glazing package | Vinyl, fiberglass, and wood-clad carry different material costs; upgraded glass (low-E, tempered, sound-dampening) adds cost |
| Wall height and access | Second-story and hard-to-access openings take longer to flash and set safely |
| Exposure | Elevations facing prevailing wind-driven rain often warrant extra flashing detail and sealant care |
| Coordination with framing schedule | Working cleanly within a builder's timeline versus a standalone project affects scheduling complexity |
Why Hire a Crew That Already Works in Renton
Window installation isn't a one-size-fits-all trade. A crew that mostly works drier inland climates can do a technically fine install and still miss the details that matter here — the extra attention to sill pan drainage, the corrosion-resistant fasteners, the flashing laps sized for driving rain rather than the occasional shower. Renton's mix of marine moisture, moss-friendly humidity, and salt-tinged air rewards contractors who've already seen what fails locally and adjusted for it.
King County Exterior works throughout Renton and King County, and we build our installs around what actually holds up in this climate — not a generic national spec sheet. That's not a marketing line; it's the reason we follow the flashing sequence the same way on every job, whether it's a single replacement opening on an addition or a full window package on new construction.
A Quick Pre-Install Checklist for Homeowners and Builders
- Confirm rough openings are checked for square and correct sizing before windows arrive
- Ask what sill pan and back-dam detail will be used at each opening
- Confirm flashing sequence: sill, jamb, then head, each lapping correctly over the WRB
- Choose frame material based on maintenance tolerance, not just upfront price
- Ask for fasteners and flashing metal rated for coastal/marine exposure
- Request photos or a walkthrough of flashing details before siding covers them
If you're planning new construction, an addition, or a full re-side in Renton and want windows installed by a crew that treats flashing details as non-negotiable, we're glad to take a look at your project. Reach out for a free, no-pressure estimate using the form below.