 King County
 Building New in West Seattle Means Building for the Water
West Seattle sits on a peninsula with Puget Sound on two sides, which means homes here take more wind-driven rain and salt-laden air than most inland King County neighborhoods. Add in the region's long, damp moss season — roughly October through May most years — and you have a climate that's genuinely tougher on window openings than a standard Pacific Northwest build. If you're framing a new home or a major addition in West Seattle, the windows aren't just a finish item. They're one of the first lines of defense against water intrusion, and they need to be selected and installed with that exposure in mind from day one.
New-construction window work is different from replacement work. On a replacement job, we're working with an existing rough opening and an existing weather barrier that's already tied into the wall. On new construction, we're setting the window into a bare opening and building the water management system around it — flashing, sill pan, weather-resistive barrier (WRB) integration, and sealant — from scratch. Get that sequence wrong and you can end up with a hidden moisture problem that doesn't show itself for years, which is a much bigger deal in a climate that stays wet for most of the year.
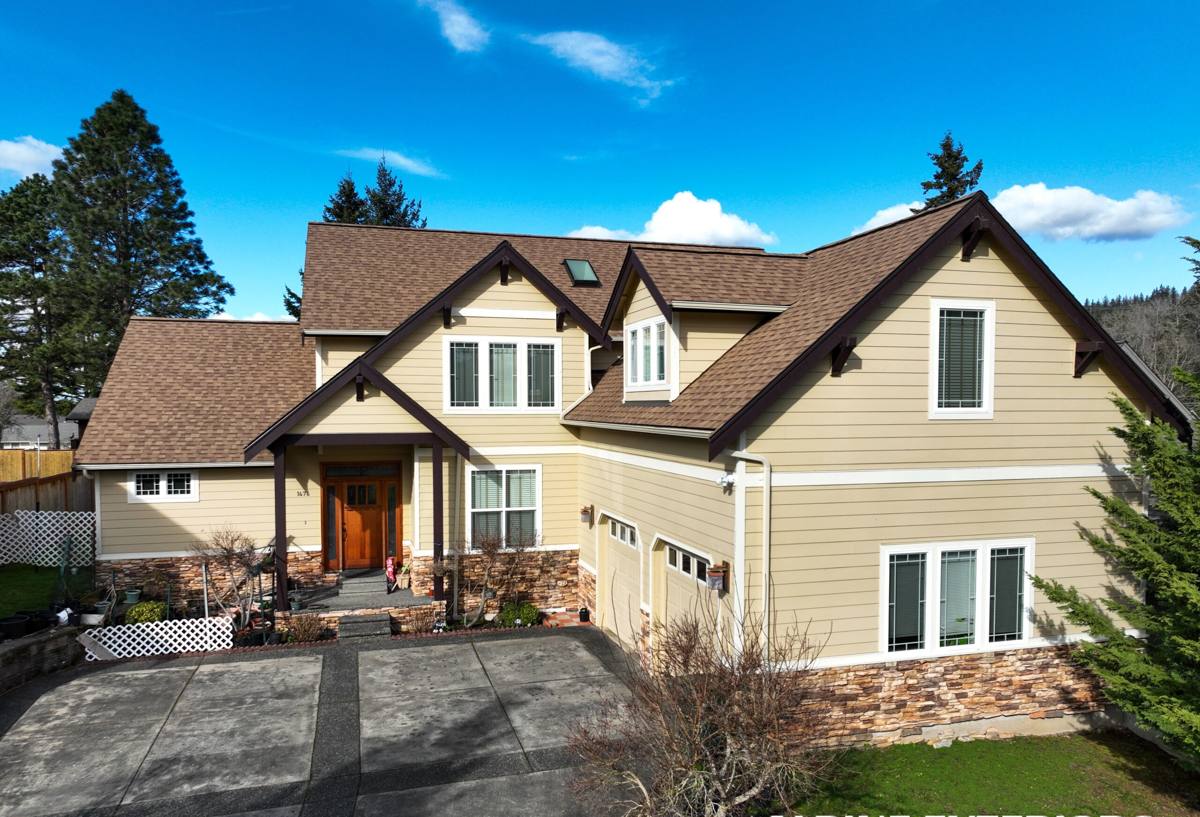
What a Correct New-Construction Window Install Actually Involves
A new-construction window (sometimes called a "nail fin" or "flange" window) has a mounting flange around the perimeter that gets fastened to the sheathing and integrated into the wall's water-resistive barrier. The goal is a shingled, gravity-fed drainage path — every layer overlaps the one below it, so water is always directed outward and downward, never trapped behind the window.
The sequence, done right
- Rough opening is checked for square, level, and correct sizing before the window ever shows up on site.
- A sloped sill pan is installed at the bottom of the opening so any water that gets past the window has somewhere to go besides the framing.
- Self-adhered flashing membrane is applied at the sill and jambs before the window is set.
- The window is set, shimmed level and plumb, and fastened through the flange per the manufacturer's schedule — not just "nailed until it feels solid."
- Head flashing goes on last, lapping over the WRB above the opening so water sheds over the top, not into it.
- The WRB is integrated back over the flanges in the correct shingle-lap order, and sealant is used only where the manufacturer specifies — not as a substitute for proper flashing.
Every one of those steps matters more in a climate that sees sustained wind-driven rain. Skipping the sill pan or reversing the flashing lap order is invisible from the outside and from inside the finished house — until years later when sheathing or framing starts to show rot.
Why Salt Air and Moss Season Change the Calculus
Two things about West Seattle's environment specifically affect window choice and detailing:
Salt air and corrosion
Homes closer to the Sound see airborne salt that accelerates corrosion on unprotected metal hardware, fasteners, and some aluminum components over time. This doesn't mean aluminum-frame windows are off the table, but it does mean fastener selection, hardware finish, and frame material all deserve a second look on a home with direct water exposure versus one set back several blocks.
Moss, mildew, and prolonged dampness
King County's wet season means window sills, trim, and any horizontal surface near an opening stay damp for extended stretches. Moss and mildew take hold anywhere water sits instead of draining. That's a strong argument for proper sill pan drainage and for choosing sill and trim details that shed water quickly rather than holding it against the frame.
Choosing the Right Frame Material for a West Seattle Build
There's no single "best" window material — it's a trade-off between upfront cost, maintenance, and how the frame handles sustained moisture exposure. Here's how the common options stack up for this specific climate:
| Frame Material | Moisture & Salt-Air Behavior | Maintenance | Typical Trade-Off |
|---|---|---|---|
| Vinyl | Doesn't corrode or rot; handles damp climates well | Low — occasional cleaning | Limited color/finish options; can't be repainted |
| Fiberglass | Very stable in wet, temperature-swinging climates; strong moisture resistance | Low | Higher upfront cost than vinyl |
| Wood-clad (wood interior, metal or vinyl exterior) | Good if the exterior cladding and flashing are done correctly; interior wood needs the exterior kept sealed | Moderate — exterior clad is low-maintenance, interior wood finish needs periodic attention | Higher cost; installation quality matters more than with other materials |
| Aluminum | Can corrode near salt air over time if hardware/finish isn't suited to coastal exposure | Moderate — finish and hardware need monitoring | Strong for large spans/commercial-style openings, less ideal as a default near the Sound |
For most new-construction homes in West Seattle, we steer clients toward vinyl or fiberglass as the default — not because other materials are bad products, but because they hold up with the least maintenance burden in a climate that stays wet most of the year. Wood-clad windows can absolutely work here and offer a look some homeowners want, but they demand a higher standard of exterior detailing and ongoing upkeep to keep water off the wood components.
Meeting Washington's Energy Code Without Guessing
Washington State's energy code sets minimum performance targets for new construction glazing, expressed as U-factor (how well the window resists heat loss) and, depending on the compliance path the builder is using, sometimes solar heat gain coefficient as well. On a new build, the window schedule has to align with whichever code compliance path — prescriptive or performance — the project is using for the whole envelope. This is coordinated with the builder or designer before windows are ordered, not adjusted after the fact. Ordering the wrong U-factor glass means a rejected inspection and a re-order, which can stall a framing schedule by weeks.
Practical pre-order checklist for a new-construction window package
- Confirm required U-factor and SHGC values against the project's energy code compliance path
- Verify rough opening sizes against actual framed dimensions, not just the plan set
- Confirm operable vs. fixed unit locations match egress requirements for bedrooms
- Check tempered glass requirements near doors, stairs, and low sills
- Confirm flange type matches the wall assembly's WRB and cladding plan
- Lock in lead times early — custom sizes and finishes can run several weeks out
Our Process on a West Seattle New-Construction Job
We work directly with the builder or general contractor's framing schedule, which means our timing has to be precise — windows go in after the WRB is on and before siding starts, and delays on our end ripple through the rest of the trades.
- Plan review — we check the window schedule against code requirements and the wall assembly before anything is ordered.
- Rough opening verification — we walk the framed openings against the schedule before windows arrive, so any framing discrepancies get caught early, not on install day.
- Flashing and sill pan installation — done to manufacturer specification, every opening, no shortcuts on the ones that are hard to reach.
- Window setting — level, plumb, square, fastened per schedule.
- WRB integration and final flashing — tied back into the building wrap correctly so the whole envelope drains as one system.
- Walkthrough with the builder — before siding closes everything up, this is the last easy chance to catch and fix an issue.
Why the Installation Crew Matters More Than the Window Brand
A quality window with a bad install will leak. A mid-tier window with a correct install, on a well-detailed wall, will outperform it every time. That's not a knock on any manufacturer — it's just the reality of how water management works on a building envelope. The flashing sequence, the sill pan, the fastening schedule, and the WRB integration determine whether the window performs for decades or becomes a hidden problem behind the drywall.
A crew that regularly works West Seattle new construction has already seen how this peninsula's wind and rain patterns behave against different orientations and exposures, and adjusts detailing accordingly — extra attention on Sound-facing elevations, for example, or hardware choices on homes close to the water. That's local knowledge you don't get from a crew that mostly works drier, more inland parts of King County.
Coordinating With Builders and GCs
New-construction window work is a scheduling-dependent trade. We show up on a specific window in the build sequence, and everything before us — framing, WRB — needs to be complete and correct for us to do our job right. We communicate directly with the general contractor or builder on timing, flag any framing issues we find during rough opening verification before they become install-day surprises, and coordinate our walkthrough before the siding crew closes up the wall. On multi-unit or larger single-family projects, we can work in phases to keep pace with the framing crew rather than waiting for the whole shell to be ready at once.
Get a Straight Answer on Your Build
If you're framing a new home or addition in West Seattle, we're happy to look at your plans, talk through window selection for your specific exposure, and give you a straightforward, no-pressure estimate on the installation. No sales pressure, just an honest read on what your build needs — use the form below to get started.