 King County
 Rainier Valley's Climate and What It Does to Siding
Rainier Valley sits in one of the wetter, greener corners of King County, and that combination is hard on exterior siding. A long wet season, driving rain that comes in sideways during winter storms, and heavy tree canopy in many parts of the neighborhood all add up to siding that stays damp longer than it does in drier climates. Add in the salt-tinged air that moves through the broader Puget Sound region, and you have a set of conditions that will find every weakness in a siding system over time.
Moss and mildew are the most visible symptoms. Shaded north-facing walls, areas under overhangs with poor airflow, and any spot where water sits instead of shedding will grow moss faster than homeowners expect. But the real damage often happens where you can't see it — behind the siding, at seams, and around penetrations like hose bibs, vents, and light fixtures. Wood-based and composite sidings that absorb moisture at these points can swell, delaminate, or rot from the inside out long before the surface looks obviously bad.
None of this means siding in Rainier Valley is doomed to fail. It means the material and the installation both have to be matched to the climate, not just picked for upfront cost or appearance.
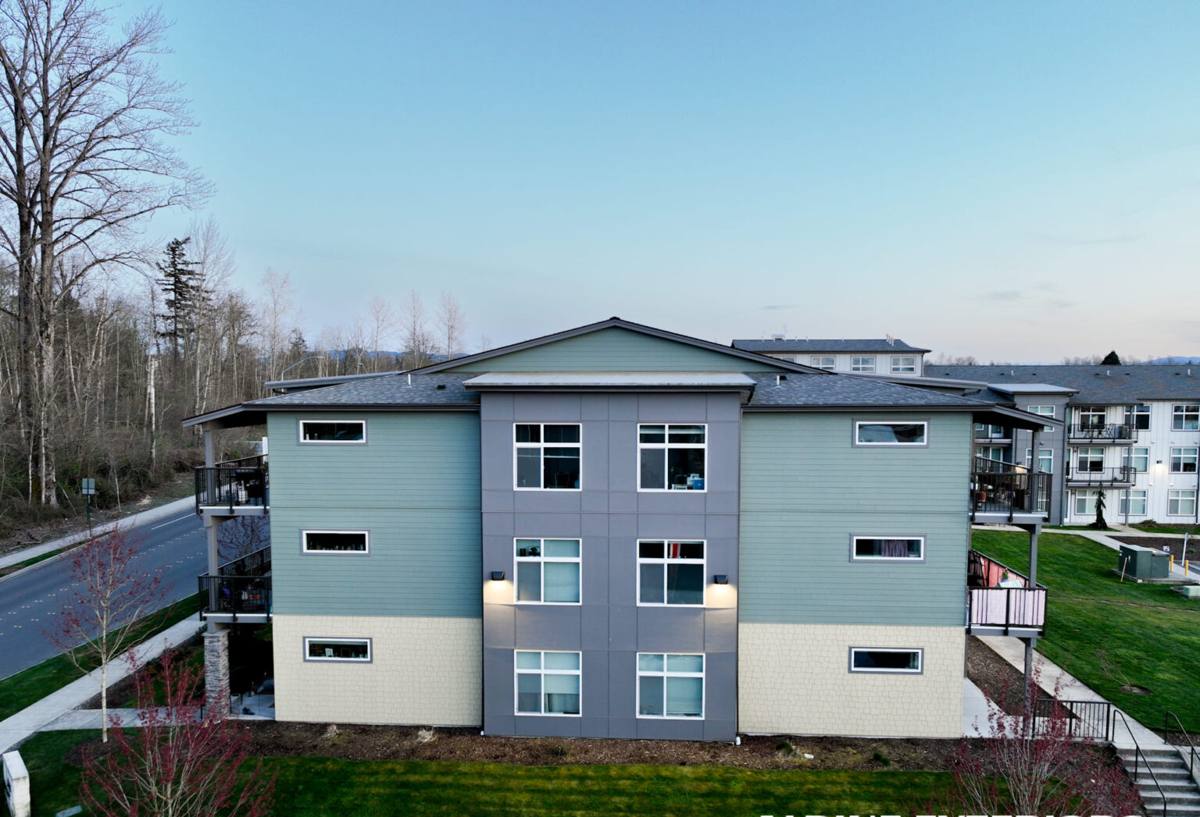
What Correct Siding Installation Actually Involves
Siding installation is often talked about like it's a cosmetic upgrade — new color, new look. In a climate like ours, it's really a water management project with a finish layer on top. The siding itself is only one piece. A correct installation also includes:
- A properly lapped and sealed weather-resistive barrier (house wrap) installed before any siding goes up
- Correct flashing at every window, door, and roofline intersection, so water is directed out and away from the wall assembly
- Rain screen or drainage gap detailing where the wall assembly calls for it, so moisture that does get behind the siding can drain and dry
- Manufacturer-specified fastening — right nail type, right spacing, right depth, not just "close enough"
- Proper clearance between the bottom of the siding and roof lines, decks, patios, and grade, so splashback and standing water don't sit against the material
- Correctly caulked and painted cut edges and joints, since an unsealed cut end is one of the fastest ways moisture gets into fiber cement or any other siding
Skip or rush any one of these steps and the siding itself almost doesn't matter — water will find the gap. This is where a lot of installation problems in this region actually originate: not from bad material, but from shortcuts taken on the parts of the job nobody sees once the siding is up.
Why We Install Only James Hardie Fiber Cement
We standardized on James Hardie fiber cement siding for every job we do, including here in Rainier Valley, and we don't install vinyl, LP SmartSide, or primed wood siding. That's a deliberate choice, not a limitation of what we're capable of installing.
Fiber cement is non-combustible, which matters in a region where wildfire smoke and ember exposure have become a more regular late-summer concern across Western Washington. It doesn't absorb and swell with moisture the way wood-based products can, which matters a great deal in a climate that stays wet for months at a time. And Hardie's ColorPlus factory finish is baked on under controlled conditions rather than field-painted, which gives it more consistent adhesion and fade resistance than a job-site paint job — an advantage that shows up over years, not on install day.
We're not going to tell you every other siding product is unusable — plenty of products have legitimate uses. But for the moisture load and temperature swings King County homes deal with, we decided fiber cement done right was the standard we wanted to put our name behind, and we've built our entire installation process around doing that one system correctly rather than doing several systems adequately.
Climate-Engineered Product Lines
James Hardie doesn't make one generic siding for the whole country. The company engineers its HZ5 product formulation specifically for regions that see extended wet seasons and cooler, moisture-heavy winters — which describes King County well. That formulation is built to resist moisture intrusion and hold up under freeze-thaw cycling better than a one-size-fits-all product would. It's a detail most homeowners never hear about, but it's part of why we trust the product for this specific climate rather than a warmer, drier one.
Our Rainier Valley Installation Process
Every job follows the same core sequence, adjusted for the specific home:
1. Inspection and Assessment
We start by looking at the existing siding, sheathing, and any visible moisture damage. In older homes especially, this step sometimes uncovers rot or compromised sheathing that needs to be addressed before new siding goes on — covering a wet wall with new siding just hides the problem.
2. Removal and Substrate Repair
Old siding comes off, and any damaged sheathing, framing, or trim gets repaired or replaced. This is also when we address any details that contributed to past moisture problems — poor flashing, missing kick-out flashing at roof-to-wall intersections, or gaps that let water track behind the wall.
3. Weather Barrier and Flashing
House wrap goes on correctly lapped, and flashing is installed at every opening and transition. This layer does most of the actual water-keeping-out work — the siding is the second line of defense, not the first.
4. Siding Installation
Hardie panels or lap siding go up to manufacturer spec — correct fastener pattern, correct exposure, correct gaps at butt joints and corners, with cut edges sealed before they're closed up.
5. Trim, Caulking, and Touch-Up
Trim work, corner details, and final caulking finish the job, followed by a walkthrough so you know exactly what was done and what basic upkeep looks like going forward.
Siding Installation Cost Factors
Every home is different, so we don't quote a price without seeing the house, but these are the main variables that move the number up or down on a typical Rainier Valley project:
| Factor | Why It Matters |
|---|---|
| Home size and wall complexity | More square footage and more corners, gables, and cutouts mean more labor and material waste |
| Condition of existing sheathing | Rot or moisture damage found during tear-off adds repair scope before siding can go on |
| Number of stories | Taller walls require more scaffolding, staging, and safety setup |
| Trim and detail level | Extensive trim, window casings, and architectural detail take more time per square foot |
| Access around the property | Tight side yards, fences, decks, or landscaping near the walls can slow staging and material handling |
| Siding profile chosen | Lap siding, panel siding, and shingle-style Hardie products differ in material and labor cost |
Signs Your Rainier Valley Home May Need New Siding
- Persistent moss or dark streaking that comes back soon after cleaning
- Soft, spongy, or bubbling spots when you press on the siding
- Paint that's peeling, cracking, or failing faster than it should
- Warped, buckled, or separating boards or panels
- Visible gaps or cracks at trim, corners, and seams
- Rot at the base of walls, near downspouts, or around window sills
- Rising heating bills with no other clear explanation, which can point to a compromised weather barrier
One or two of these on their own might just need a repair. Several together, especially on a home with siding older than 20-25 years, usually means it's time to talk about full replacement rather than patching.
Why a Local King County Crew Matters
Siding installation guidance changes based on climate, and general national installation standards don't always account for what a wet Pacific Northwest winter actually does to a wall assembly. A crew that works Rainier Valley and the surrounding King County area regularly knows which details cause callbacks in this climate — where kick-out flashing gets skipped, where builders in this region historically under-detailed rain screens, and which orientations on a given lot see the most driving rain and the slowest drying time.
That local pattern recognition doesn't replace manufacturer specs — it's what makes sure those specs actually get followed on the details that matter most for this specific weather. It also means someone who installed your siding is realistically reachable if a question comes up two winters from now, not a crew that moved on to a different region.
After Installation: Keeping It Right
James Hardie siding installed correctly needs very little upkeep, but "very little" isn't "none." A periodic rinse to keep moss and grime from building up, a visual check after major storms for any damaged trim or caulking, and prompt attention to any landscaping that starts crowding the walls will keep the siding performing the way it's designed to for decades. We walk every customer through what to watch for before we leave the job site.
If your Rainier Valley home's siding is showing its age, or you're planning ahead for a replacement, we're happy to take a look and give you a straightforward, no-pressure estimate — just fill out the form below to get started.