 King County
 Siding Installation for Woodinville's Wet, Tree-Shaded Lots
Woodinville sits in the Sammamish River valley in King County, and a lot of what makes it a good place to live — mature tree cover, wooded hillside lots, proximity to the wine country the area is known for — also makes it a demanding place to keep siding in good shape. Shade that keeps a yard cool in August is the same shade that keeps a north wall damp for days after a storm. Driving rain off the Sound reaches this far inland with plenty of force behind it. And a moss and mildew season that can run most of the year on shaded siding is just part of owning a home here. None of that is a reason to avoid siding work — it's a reason to make sure the installation itself is done correctly, because in this climate, installation quality is what separates siding that lasts three decades from siding that starts showing problems in five years.
This page is specifically about siding installation for Woodinville properties — full re-siding and new construction, not spot repair — and what a correct job actually requires given the conditions this part of King County deals with every year. We install James Hardie fiber cement exclusively, so everything below reflects that system specifically, since it's the only siding we put on homes in this area.
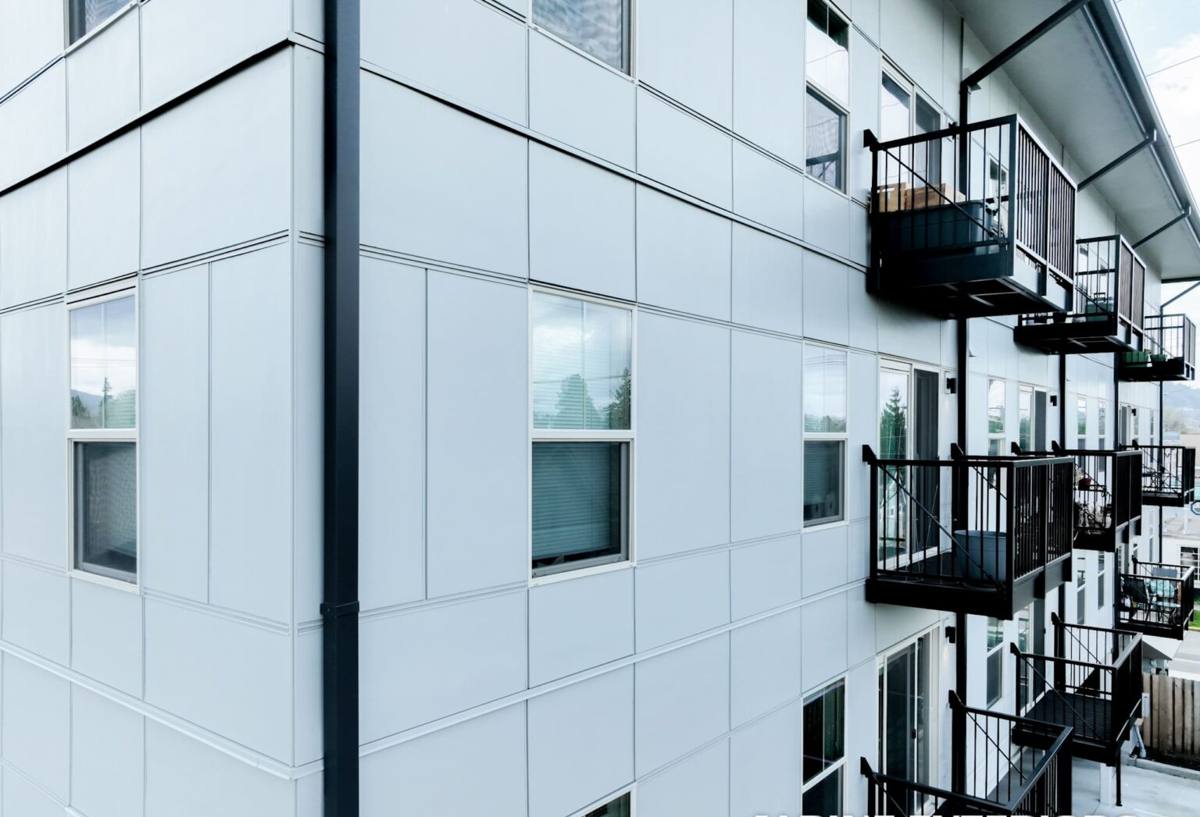
What Woodinville's Climate and Tree Cover Do to Siding
Driving Rain and Wind-Driven Moisture
Storms moving through the Puget Sound region don't always fall straight down. Wind pushes rain sideways into wall assemblies, panel joints, and trim seams, and that matters more for installation quality than most homeowners expect. A wall's real defense against wind-driven rain is the water-resistive barrier and flashing underneath the siding — how carefully it's lapped, taped, and integrated at every window, door, and penetration. The siding itself is the visible layer; the barrier behind it is what actually keeps water out of the wall assembly.
Deep Shade and an Extended Moss Season
Woodinville's tree cover is part of the area's character, but heavily shaded walls and north-facing elevations dry out slower after every rain, and that gives moss, algae, and mildew a longer growing season than a more open, sun-exposed property would see. Installation detail affects this directly — correct clearance at the bottom of the wall, a drainage plane that lets a wall breathe, and siding that isn't crowded tight against trim or landscaping all give a wall the chance to actually dry between wet spells instead of staying damp for weeks at a stretch.
Marine-Influenced Humidity, Even Inland
Woodinville isn't waterfront, but it's still part of the greater Puget Sound marine climate — humid, mild, and wet for most of the year rather than dry with occasional storms. That sustained moisture load is harder on fasteners, caulk joints, and any cut edge of siding that wasn't sealed correctly than a drier inland climate would be, even without direct salt exposure.
Temperature Swings and Seasonal Movement
King County doesn't see extreme heat or hard freezes the way inland climates do, but the swing between cold, wet winters and warm, dry summer stretches still causes siding materials to expand and contract. Products and installation methods that don't account for that movement — rigid joints with no room to move, caulk used in place of proper flashing — tend to show cracking or gapping years before they should.
Signs a Woodinville Home's Siding Needs Attention
Because so much of the damage in this climate starts behind the siding rather than on its visible face, it's worth knowing what to look for before a small problem becomes a structural one.
- Soft, spongy, or discolored siding, especially on shaded or north-facing walls
- Persistent moss, algae, or black streaking that comes back within weeks of cleaning
- Visible gaps, warping, or buckling at panel joints and corners
- Paint that's peeling, bubbling, or failing faster on one elevation than the rest of the house
- Rising utility bills with no other obvious explanation, which can point to a failing weather barrier behind the siding
- Interior signs — musty smell, staining, or soft drywall near exterior walls
What a Correct James Hardie Installation Actually Involves
The Weather-Resistive Barrier Comes First
Before a single piece of siding goes up, the house needs a properly lapped and sealed weather-resistive barrier, with flashing integrated correctly at every window, door, and penetration. This layer is what actually stops wind-driven rain from reaching the sheathing, and it's also the step that's easiest to rush on a job where the crew is being paid to move fast rather than get it right. We treat this as the foundation of the job, not a formality to get past.
Fastening, Spacing, and Clearances
James Hardie publishes specific fastener type, spacing, and placement requirements, and they vary by product and exposure. Following that spec — including minimum clearance from grade, roof lines, decks, and other siding — keeps panels performing the way they're engineered to and keeps the manufacturer's warranty valid if something ever needs a claim. Skipping clearance at grade is one of the most common shortcuts we see on older installs, and it's a direct path for moisture to wick into the bottom of a wall.
Joints, Caulking, and Cut Edges
Every field cut on a piece of fiber cement siding exposes raw material that needs to be primed and sealed before it goes on the wall — factory-finished ColorPlus panels are only fully protected on the faces and edges Hardie finished at the factory. Joints get backed with the right materials and sealed with a caulk rated for sustained exterior moisture exposure, not a general-purpose sealant that will crack and shrink within a few seasons.
Rainscreen and Drainage Detailing
On shaded lots especially, giving a wall a way to drain and dry — rather than sealing siding tight against the barrier with nowhere for incidental moisture to go — measurably reduces how long a wall stays wet after a storm. That's a detail that costs a little more labor and is invisible once the job is done, which is exactly why it's one of the first things skipped on a corner-cutting install.
Why We Install Only James Hardie Fiber Cement
We don't install vinyl, LP SmartSide, Cemplank, Allura, primed spruce, or cedar, and that's a deliberate standard, not a limitation in what we're capable of installing. James Hardie fiber cement is non-combustible, holds a factory ColorPlus finish that resists fading and chipping far longer than field-applied paint, and is engineered in HZ product lines specifically for regional moisture and temperature conditions rather than sold as one generic product nationwide. For a climate like King County's — sustained moisture, a long shoulder season, real temperature swings — that engineering difference shows up in how the material actually performs over twenty and thirty years, not just in the first few.
| Factor | James Hardie Fiber Cement | Vinyl | Engineered Wood (e.g. LP SmartSide) | Cedar |
|---|---|---|---|---|
| Moisture resistance | Engineered for wet climates; won't rot | Won't rot but can warp and gap over time | Vulnerable at cut edges and joints if not maintained | Requires ongoing sealing to resist rot |
| Combustibility | Non-combustible | Melts or deforms under heat | Combustible wood-based product | Combustible |
| Finish longevity | Factory ColorPlus finish, long fade resistance | Color molded in but can fade or chalk | Field-painted; needs repainting on a cycle | Needs re-staining or re-sealing regularly |
| Maintenance | Low — periodic cleaning | Low but prone to cracking in impacts | Moderate to high — paint and edge sealing | High — ongoing sealing and staining |
| Typical lifespan when installed to spec | 30+ years | 20-30 years, variable | 15-25 years, install-dependent | 15-25 years with upkeep |
This isn't a claim that every other product is unusable — it's an explanation of the trade-offs that led us to standardize on one system we can install to spec and stand behind, rather than offering several products at different quality tiers.
What Affects the Cost of a Siding Installation in Woodinville
Every property is different, but the same handful of factors drive most of the variation we see in Woodinville quotes. We give firm, written numbers only after an on-site look — broad ranges without seeing the house tend to be more misleading than helpful.
| Cost Factor | Why It Matters |
|---|---|
| House size and wall complexity | More square footage, more corners, dormers, and trim details all add labor time |
| Condition of the existing wall assembly | Rot or moisture damage found under old siding needs repair before new siding goes on |
| Full tear-off vs. installing over existing siding | Tear-off costs more upfront but lets the crew inspect and correct the weather barrier underneath |
| Product selection within the Hardie lineup | Lap siding, panel, and board-and-batten styles carry different material and labor costs |
| Trim, accessories, and color | Factory ColorPlus finishes and matching trim packages add cost but remove a future repainting cycle |
| Site access and lot conditions | Sloped, wooded, or tight-access lots common around Woodinville can add setup and staging time |
Our Installation Process
We start with an on-site inspection of the existing siding and wall assembly, checking for moisture damage, soft sheathing, and how the current weather barrier was installed, since that tells us whether a straightforward re-side is realistic or whether repair work needs to happen first. From there we walk through product, color, and style options and give a written scope and firm price before any work begins — no verbal estimates that turn into surprises once the crew is on-site. Once work starts, the sequence is consistent on every job: remove old siding and inspect sheathing, repair any damaged framing or sheathing found underneath, install and properly lap the weather-resistive barrier and flashing, then install the James Hardie siding to manufacturer fastening and clearance specs, finishing with trim, caulking, and a final walkthrough. Correct flashing and drainage detailing are standard practice on every job we do — not an upgrade a homeowner has to specifically ask for.
Why a Local King County Crew Matters
A crew that already works Woodinville and the surrounding King County area has already made the small judgment calls this climate demands — how much clearance a wall needs on a heavily shaded lot, which fastener grade holds up against sustained marine humidity, how to sequence a job around this region's wetter months so the weather barrier isn't left exposed longer than it should be. That local familiarity also extends to permitting and inspection expectations specific to King County jurisdictions, and to realistic scheduling — siding crews here book out further during the drier summer stretch, and a local contractor can set expectations honestly instead of overpromising a start date.
A Simple Checklist Before Hiring for Siding Work in Woodinville
- Confirm current Washington contractor licensing and active liability insurance
- Ask specifically how they handle the weather-resistive barrier and flashing, not just which siding brand they install
- Get a written scope that separates the manufacturer's product warranty from the contractor's installation warranty
- Ask whether they do a full tear-off or install over existing siding, and why they'd recommend one for your house
- Ask how they sequence work around King County's wetter months to keep the wall assembly protected mid-project
If your Woodinville home's siding is showing its age, or you're planning new construction and want it done right the first time, we're happy to take a look and walk you through what your property actually needs. Reach out below for a free, no-pressure estimate.