 King County
 Building New in Kirkland? The Windows Have to Be Right the First Time
New construction gives you one real shot at getting window installation right. Once siding, trim, and interior finishes go on, fixing a bad window install means tearing into finished work. In Kirkland, where homes sit close to Lake Washington and see a steady diet of marine rain, wind-driven storms off the water, and long stretches of damp, overcast weather, that first install has to account for moisture from day one — not as an afterthought once a leak shows up.
We install new-construction windows for builders and homeowners across King County, and Kirkland jobs come with their own set of conditions worth understanding before framing is even closed in.
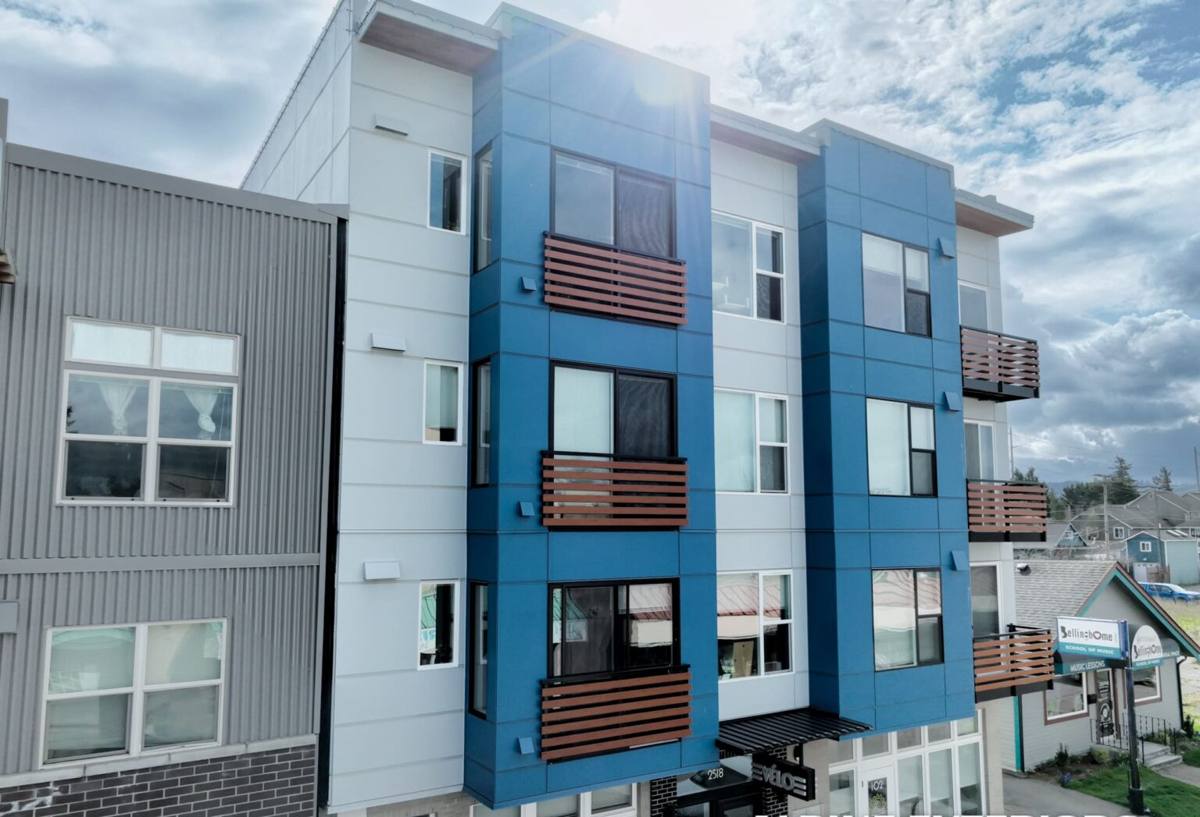
What Kirkland's Climate Demands from a New Window Install
Kirkland's location on the eastern shore of Lake Washington means homes deal with a mix of lake-effect humidity and the same driving Pacific rain that hits the rest of the Puget Sound lowlands. A few local realities shape how we approach new-construction window work here:
- Driving rain, not just vertical rain. Wind off the lake pushes water sideways into wall assemblies, so flashing and sealant details at the head, jambs, and sill all matter — not just the top of the opening.
- Long wet seasons mean long drying windows are rare. If a rough opening isn't properly wrapped and flashed before the window goes in, moisture has months to work into sheathing and framing before anyone notices.
- Moss and organic growth on trim and sills. Shaded, damp conditions common in Kirkland's tree-covered lots encourage moss and algae on horizontal surfaces, which holds moisture against wood trim and finishes longer than dry-climate assemblies were ever designed for.
- Salt-tinged marine air. Proximity to Puget Sound and Lake Washington adds a mild corrosive element that affects the lifespan of lower-grade fasteners, flashing metal, and hardware.
None of this means Kirkland needs exotic materials. It means the installation details — the parts nobody sees once the wall is closed up — need to be done correctly and in the right order.
What a Correct New-Construction Window Install Actually Involves
Rough Opening Prep
Before a window ever gets set, the rough opening needs to be square, properly sized, and dry. We check framing tolerances against the window manufacturer's specs — an opening that's out of square by even a small margin can bind sashes, stress seals, or create gaps that let water in later.
Weather-Resistive Barrier and Flashing
This is the part that determines whether a window leaks in year three or lasts the life of the house. Proper sequencing means:
- Weather-resistive barrier (housewrap) lapped correctly above and around the opening
- Sill pan flashing installed to shed any water that gets past the window back out, not into the wall cavity
- Jamb flashing integrated with the housewrap in shingle-fashion (upper layers overlapping lower ones)
- Head flashing installed last, tucked behind the housewrap above the opening so water sheds down and over, never behind
Skipping or reversing any step in that order is one of the most common causes of hidden water damage in new builds — and it's invisible until siding or interior finishes are already up.
Setting and Securing the Window
The window gets set plumb, level, and square, shimmed at the manufacturer's specified points, and fastened per the product's installation instructions — which vary by window type, frame material, and whether it's a nail-fin, block-frame, or flush-fin unit. Over-driving or under-driving fasteners, or fastening in the wrong locations, can warp a frame just enough to affect long-term operation and seal performance.
Interior and Exterior Sealing
Low-expansion foam or backer rod and sealant around the frame perimeter (never packed solid with standard foam, which can bow frames) manages air sealing, while exterior sealant joints are placed only where the manufacturer's flashing details call for them — sealing the wrong joint can actually trap water instead of keeping it out.
Choosing Windows for a Kirkland New Build
We don't push one brand or frame material as universally "best" — the right choice depends on the home's design, budget, and exposure. What we do insist on is matching the product to the conditions honestly:
| Frame Material | Strengths in Kirkland's Climate | Trade-Offs to Know |
|---|---|---|
| Vinyl | Won't rot, low maintenance, budget-friendly, good thermal performance | Limited color/finish options, can expand/contract with temperature swings |
| Fiberglass | Very stable dimensionally, handles moisture and temperature swings well, long service life | Higher upfront cost than vinyl |
| Wood (clad exterior) | Traditional interior look, good insulation value | Exterior cladding must be intact and well-sealed — exposed wood is a poor match for this climate |
| Aluminum | Strong, slim sightlines, good for large openings | Poor insulator unless thermally broken; can feel cold and condensate in our damp winters |
For most new-construction projects in Kirkland, we lean toward vinyl or fiberglass frames with proper low-E glass packages, since both hold up well against sustained damp exposure without the ongoing maintenance that painted or exposed-wood exteriors require in this climate.
Glass and Performance Considerations
Beyond frame material, a few glass and hardware choices matter more here than in drier climates:
- Low-E coatings help manage heat loss during Kirkland's long, mild-but-damp heating season
- Argon or krypton gas fills add insulating value without changing the look of the glass
- Corrosion-resistant hardware (stainless or coated) holds up better against the mild salt content in the air near the lake and Sound
- Proper weep hole design keeps any incidental moisture moving out of the frame rather than pooling
Our New-Construction Installation Process
For builders and homeowners working with us on new construction in Kirkland, the process generally runs like this:
- Plan review. We review window schedules and rough opening dimensions against the architectural plans before framing is finalized, catching sizing issues early.
- Pre-install inspection. Once framing and weather-resistive barrier are up, we verify openings are square, properly sized, and ready before windows arrive on site.
- Flashing and installation. Sill pans, jamb flashing, window setting, and head flashing installed in the correct sequence, with fasteners per manufacturer spec.
- Sealing and quality check. Interior and exterior sealant applied at the correct joints only, followed by an operational check of every unit — smooth operation, proper latching, no binding.
- Documentation. We note installation details relevant to warranty registration, since most manufacturers require proof of proper installation to honor coverage.
Why Manufacturer Warranties Depend on Installation Quality
Most window manufacturers' warranties cover the product itself — glass seal failures, hardware defects, frame issues — but explicitly exclude damage caused by improper installation. That means a homeowner can have a genuinely good window and still have no warranty recourse if the flashing sequence was wrong or fasteners were driven incorrectly. This is one of the most overlooked risks in new construction: the product warranty is only as good as the install behind it. We install according to manufacturer specifications precisely so that if something does go wrong with the product itself, the warranty is intact and usable.
Why Local Experience in Kirkland Matters
A crew that regularly works Kirkland jobs already understands the practical realities of building here — lots with mature tree cover and persistent shade, proximity to the lake and the added moisture that comes with it, and the inspection expectations of King County's permitting process. That familiarity shows up in small but meaningful ways: knowing which flashing details hold up best against wind-driven rain off the lake, recognizing where moss and organic buildup are likely to become a long-term maintenance issue, and building in enough drying time between weather-resistive barrier installation and window setting during Kirkland's wetter months.
New construction doesn't give you a second chance to get the hidden details right. It's worth hiring a crew that treats those details as the actual job, not just the visible window itself.
A Quick Pre-Install Checklist
Whether you're a builder coordinating trades or a homeowner overseeing your own new build, these are worth confirming before windows go in:
- Rough openings verified square and correctly sized against window schedule
- Weather-resistive barrier installed and properly lapped before window delivery
- Sill pan flashing specified and on hand — not an optional add-on
- Flashing sequence confirmed: sill, then jambs, then head, integrated with housewrap
- Fastener type and placement matched to manufacturer instructions
- Sealant joints identified per manufacturer detail — not sealed everywhere by default
- Installation records kept for warranty registration
Get an Estimate for Your Kirkland New-Construction Project
If you're planning a new build in Kirkland and want window installation done with the flashing, sequencing, and product fit this climate actually requires, we're glad to take a look at your plans. Reach out for a free, no-pressure estimate using the form below.